mail_outline sales@mediastorehouse.com
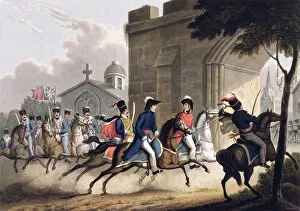
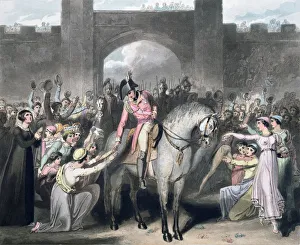
Entrance of Lord Wellington into Salamanca, May 20th 1813 1815. Artist: Matthew DubourgEntrance of Lord Wellington into Salamanca at the head of a Regiment of Hussars, May 20th 1813 1815. Scene during Wellingtons final, decisive advance of the Peninsular War
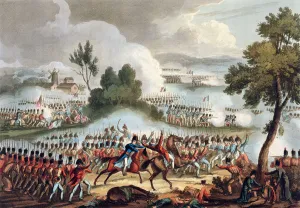
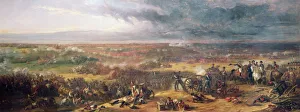
The Left Wing of the British army in Action at the Battle of Waterloo, June 18th 1815 ArtistThe Left Wing of the British army in Action at the Battle of Waterloo, June 18th 1815. The Battle of Waterloo was the decisive defeat for Napoleon and marked the end of his empire
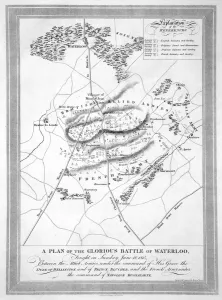
A Plan of the Glorious Battle of Waterloo, 1815 (19th century)
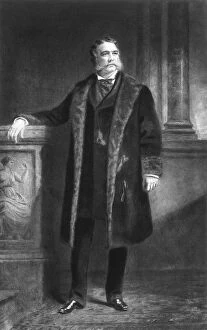
Chester A Arthur, 21st President of the United States of America, (1901). Chester Alan Arthur (1829-1886) was Vice-President to James Garfield
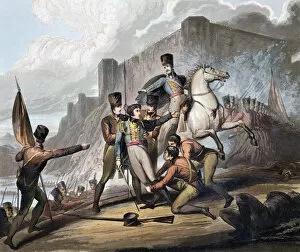
Second Battle of Porto, Portugal, 12th May 1809 (1819). Artist: T FieldingSecond Battle of Porto, Portugal, 12th May 1809 (1819). Less than a month after taking command of the British army in Portugal, the Duke of Wellington captured the city of Porto from the French
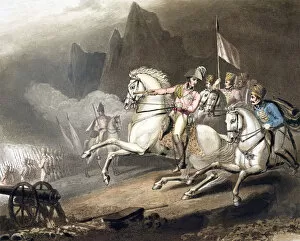
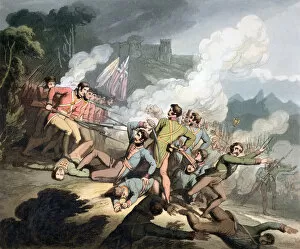
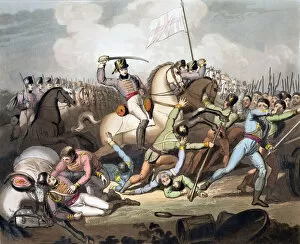
Battle of the Pyrenees, Spain, 28th July 1813 (1819). Artist: T FieldingBattle of the Pyrenees, Spain, 28th July 1813 (1819). The battle saw the British under Wellington repel a French offensive to relieve the besieged garrisons of Pamplona and San Sebastian
Battle of Vimeiro, Portugal, 1st August 1808 (1819). Artist: T FieldingBattle of Vimeiro, Portugal, 1st August 1808 (1819). The British army commanded by Wellington defeated the French under Junot. From The Victories of the Duke of Wellington, 1819
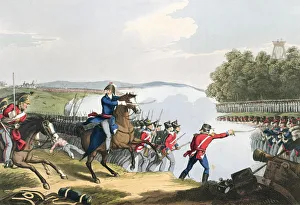
Battle of Talavera, Spain, 28th July 1809 (1819). Artist: T FieldingBattle of Talavera, Spain, 28th July 1809 (1819). The British and Spanish army commanded by Wellington won an indecisive victory over the French commanded by Napoleons brother Joseph Bonaparte
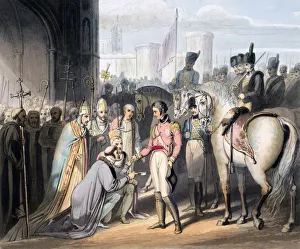
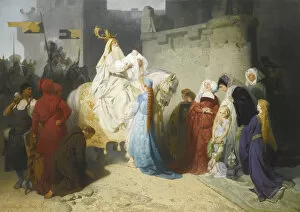
Liberation of Madrid, 6th August 1812 (1819). Artist: T FieldingLiberation of Madrid, 6th August 1812 (1819). Members of the clergy welcoming the Duke of Wellington to the city after the withdrawal of the occupying French
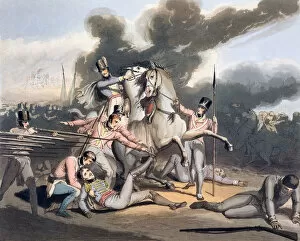
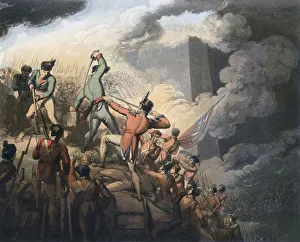
Battle of Badajoz, Spain, 6th April 1812 (1819). Artist: T FieldingBattle of Badajoz, Spain, 6th April 1812 (1819). The British succeeded in capturing the city from the French bu suffered heavy casualties in the process
Battle of Busaco, Portugal, 27th September 1810 (1819). Artist: T FieldingBattle of Busaco, Portugal, 27th September 1810 (1819). British and Portuguese troops commanded by Wellington repulsed the French under Massena. From The Victories of the Duke of Wellington, 1819
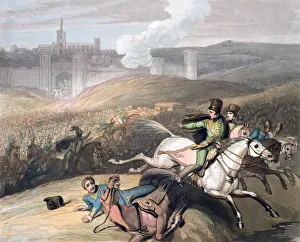
Battle of Vitoria, Spain, 21st June 1813 (1819). Artist: T FieldingBattle of Vitoria, Spain, 21st June 1813 (1819). The victory for Wellington and his Spanish and Portuguese allies at Vitoria was decisive in bringing about the defeat of the French in the Peninsular
Capture of Toulouse, France, 10th April 1814 (1819). Artist: T FieldingCapture of Toulouse, France, 10th April 1814 (1819). The Battle of Toulouse was fought after Napoleons surrender to the Sixth Coalition and abdication
Battle of Salamanca, Spain, 21st July 1812 (1819). Artist: T FieldingBattle of Salamanca, Spain, 21st July 1812 (1819). The Battle of Salamanca was an important victory in the Peninsular War for an Anglo-Portuguese army under the Duke of Wellington over Marshal
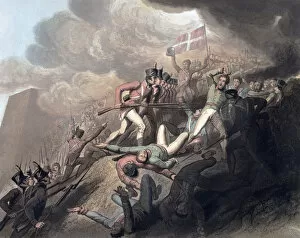
Capture of San Sebastian, Spain, 31st August 1813 (1819). Artist: T FieldingCapture of San Sebastian, Spain, 31st August 1813 (1819). British and Portuguese troops taking San Sebastian from the occupying French
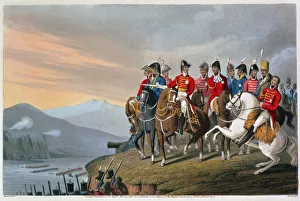
The Duke of Wellington and his Staff Crossing the Bidassoa and Entering France, 1813 (1816). Victory over the French in the Peninsular War
The Battle of Waterloo Decided by the Duke of Wellington, 1815 (1816). ArtistThe Battle of Waterloo Decided by the Duke of Wellington, 1815 (1816). From Historic, Military and Naval Anecdotes, published by Edward Orme, 1816
Battle of Waterloo, 1815 Artist: William AllanBattle of Waterloo, 1815 (1843). On the right of the picture Napoleon and his staff watch the unfolding events on the battlefield from their position at La Belle Alliance
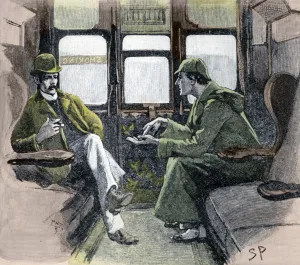
Holmes gave me a sketch of the Events, 1901. Artist: Sidney E PagetHolmes gave me a sketch of the Events, 1901. Sherlock Holmes and Dr Watson on a train to Devon to investigate a murder and the disappearance of a famous racehorse
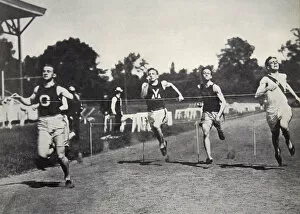
Arthur Duffey, American athlete, running a race, 1902. Artist: Edwin LevickArthur Duffey, American athlete, running a race, 1902. Duffey (1879-1955) competed in the 100 metres at the 1900 Olympic Games in Paris, finishing fourth
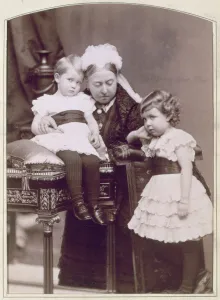
Queen Victoria with two of her grandchildren, April 1886. Artist: Alexander BassanoQueen Victoria with two of her grandchildren, April 1886. The queen with Prince Arthur (b1883) and Princess Margaret of Connaught (b1882), two of the children of her third son, Arthur
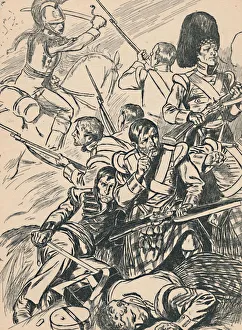
British Soldiers at the Battle of Waterloo, c1907. From My Book of True Stories. [Blackie and Son Limited, London]
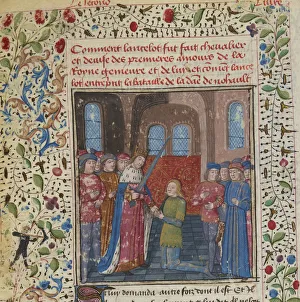
The Investiture of the Knight. From: Lancelot du Lac. Found in the Collection of Bibliotheque Nationale de France
Merlin presenting the future King Arthur, 1873. Artist: Lauffer, Emil Johann (1837-1909)Merlin presenting the future King Arthur, 1873. Private Collection
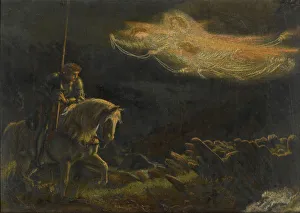
Sir Galahad. The Quest for the Holy Grail. Artist: Hughes, Arthur (1832-1915)Sir Galahad. The Quest for the Holy Grail. Private Collection
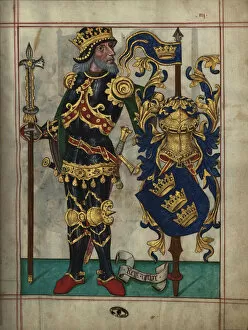
King Arthur (From Livro do Ameiro-Mor), 1509. Artist: AnonymousKing Arthur (From Livro do Ameiro-Mor), 1509. Found in the collection of Arquivo Nacional da Torre do Tombo
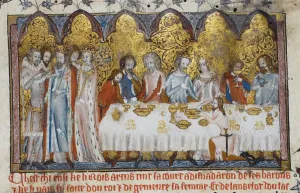
Feasting at King Arthurs Court, 13th century. Artist: AnonymousFeasting at King Arthurs Court, 13th century. Found in the collection of British Library
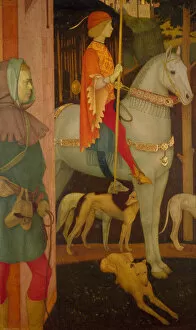
The Kings Son. Artist: Gaskin, Arthur Joseph (1862-1928)The Kings Son. Found in the collection of Birmingham Museum and Art Gallery
King Arthur fighting the Saxons (from the Rochefoucauld Grail). Artist: AnonymousKing Arthur fighting the Saxons (from the Rochefoucauld Grail). Private Collection
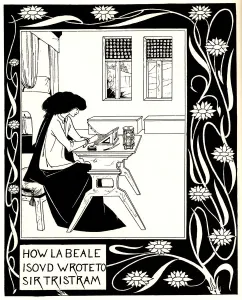
How La Beale Isoud Wrote to Sir Tristram. Illustration to the book Le Morte d Arthur by Sir Thomas Artist: BeardsleyHow La Beale Isoud Wrote to Sir Tristram. Illustration to the book Le Morte d Arthur by Sir Thomas Malory. Private Collection
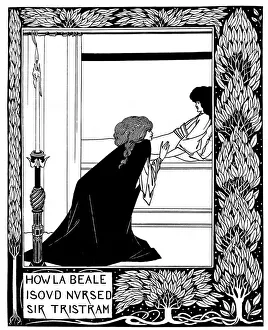
How La Beale Isoud Nursed Sir Tristram. Illustration to the book Le Morte d Arthur by Sir Thomas M Artist: BeardsleyHow La Beale Isoud Nursed Sir Tristram. Illustration to the book Le Morte d Arthur by Sir Thomas Malory. Private Collection
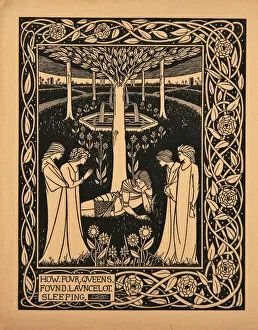
How Four Queens Found Lancelot Sleeping. Illustration to the book Le Morte d Arthur by Sir Thomas Artist: BeardsleyHow Four Queens Found Lancelot Sleeping. Illustration to the book Le Morte d Arthur by Sir Thomas Malory. Private Collection
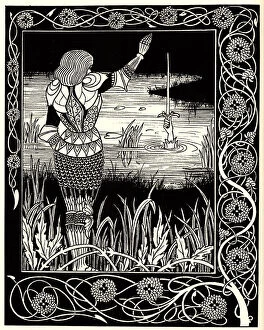
Arthur Learns of the Sword Excalibur. Illustration to the book Le Morte d Arthur by Sir Thomas Mal Artist: BeardsleyArthur Learns of the Sword Excalibur. Illustration to the book Le Morte d Arthur by Sir Thomas Malory, 1893-1894. From a private collection
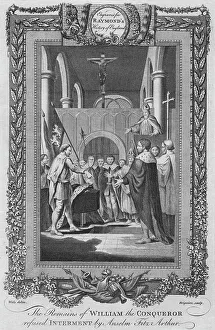
The Remains of William the Conqueror refused Interment by Anselm Fitz Arthur, c1787. From A New, Universal and Impartial History of England: From the Earliest Authentic Records
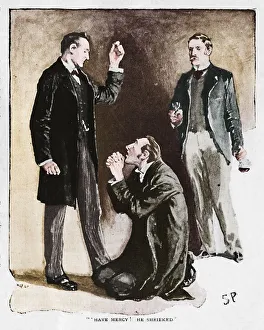
Have Mercy! He Shrieked, 1892. Artist: Sidney E PagetHave Mercy! He Shrieked, 1892. Illustration from The Adventure of the Blue Carbuncle by Arthur Conan Doyle. From The Strand Magazine: An Illustrated Monthly - Vol. III
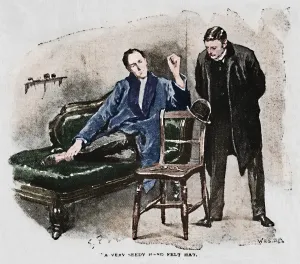
A Very Seedy Hard Felt Hat, 1892. Artist: Sidney E PagetA Very Seedy Hard Felt Hat, 1892. Illustration from The Adventure of the Blue Carbuncle by Arthur Conan Doyle. From The Strand Magazine: An Illustrated Monthly - Vol. III
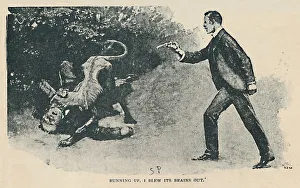
Running Up. I Blew Its Brains Out, 1892. Artist: Sidney E PagetRunning Up. I Blew Its Brains Out, 1892. Illustration from The Adventure of the Copper Beeches by Arthur Conan Doyle. From The Strand Magazine: An Illustrated Monthly - Vol. III
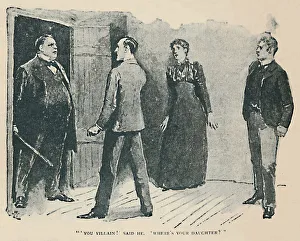
You Villain! Said He. Wheres My Daughter?, 1892. Artist: Sidney E PagetYou Villain! Said He. Wheres My Daughter?, 1892. Illustration from The Adventure of the Copper Beeches by Arthur Conan Doyle. From The Strand Magazine: An Illustrated Monthly - Vol. III
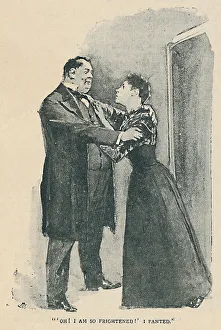
Oh! I Am So Frightened! I Panted, 1892. Artist: Sidney E PagetOh! I Am So Frightened! I Panted, 1892. Illustration from The Adventure of the Copper Beeches by Arthur Conan Doyle. From The Strand Magazine: An Illustrated Monthly - Vol. III
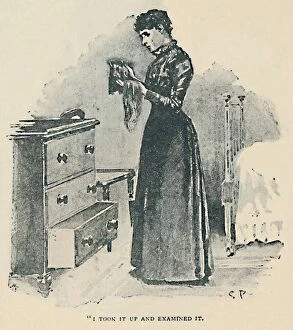
I Took It Up And Examined It, 1892. Artist: Sidney E PagetI Took It Up And Examined It, 1892. Illustration from The Adventure of the Copper Beeches by Arthur Conan Doyle. From The Strand Magazine: An Illustrated Monthly - Vol. III
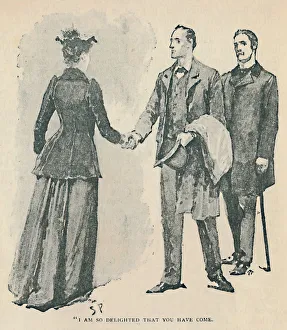
I Am So Delighted That You Have Come, 1892. Artist: Sidney E PagetI Am So Delighted That You Have Come, 1892. Illustration from The Adventure of the Copper Beeches by Arthur Conan Doyle. From The Strand Magazine: An Illustrated Monthly - Vol. III
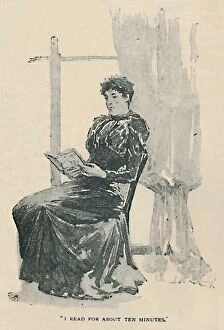
I Read For About Ten Minutes, 1892. Artist: Sidney E PagetI Read For About Ten Minutes, 1892. Illustration from The Adventure of the Copper Beeches by Arthur Conan Doyle. From The Strand Magazine: An Illustrated Monthly - Vol. III
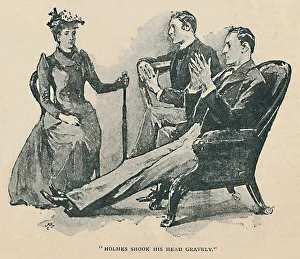
Holmes Shook His Head Gravely, 1892. Artist: Sidney E PagetHolmes Shook His Head Gravely, 1892. Illustration from The Adventure of the Copper Beeches by Arthur Conan Doyle. From The Strand Magazine: An Illustrated Monthly - Vol. III
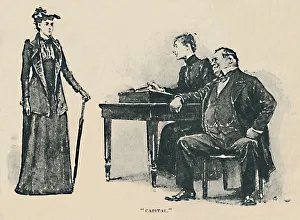
Capital, 1892. Artist: Sidney E PagetCapital, 1892. Illustration from The Adventure of the Copper Beeches by Arthur Conan Doyle. From The Strand Magazine: An Illustrated Monthly - Vol. III. January to June, edited by George Newnes
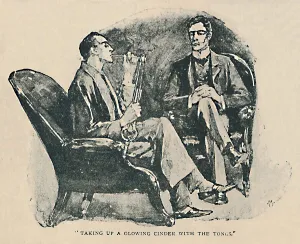
Taking Up A Glowing Cinder With The Tongs, 1892. Artist: Sidney E PagetTaking Up A Glowing Cinder With The Tongs, 1892. Illustration from The Adventure of the Copper Beeches by Arthur Conan Doyle. From The Strand Magazine: An Illustrated Monthly - Vol. III
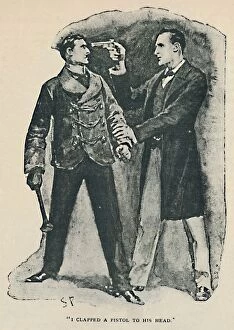
I Clapped A Pistol To His Head, 1892. Artist: Sidney E PagetI Clapped A Pistol To His Head, 1892. Illustration from The Adventure of the Beryl Coronet by Arthur Conan Doyle. From The Strand Magazine: An Illustrated Monthly - Vol. III
Arthur Caught Him, 1892. Artist: Sidney E PagetArthur Caught Him, 1892. Illustration from The Adventure of the Beryl Coronet by Arthur Conan Doyle. From The Strand Magazine: An Illustrated Monthly - Vol. III
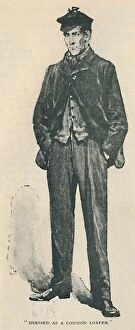
Dressed As A Common Loafer, 1892. Artist: Sidney E PagetDressed As A Common Loafer, 1892. Illustration from The Adventure of the Beryl Coronet by Arthur Conan Doyle. From The Strand Magazine: An Illustrated Monthly - Vol. III