mail_outline sales@mediastorehouse.com
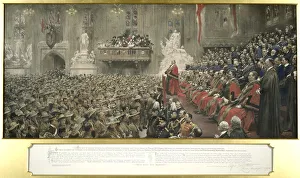
The City Imperial Volunteers in Guildhall, London, 1900The City Imperial Volunteers in the Guildhall, London, 1900
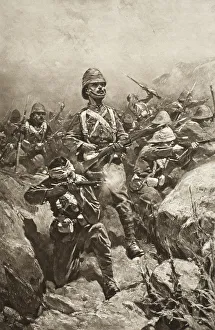
The Transvaal War, 1899-1901 (1901). A scene from the Second Boer War. From The Illustrated London News, 1901
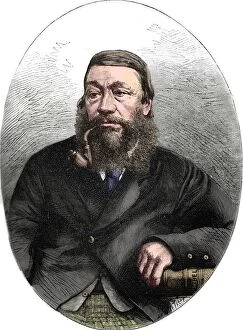
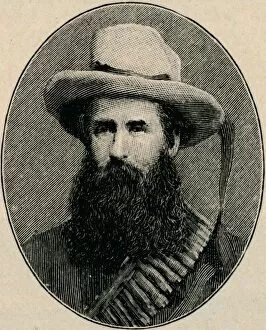
S. J. Paul Kruger, President of the South African Republic, c1880s. Artist: Sweeton TillyS. J. Paul Kruger, President of the South African Republic, c1880. Paul Kruger ( 1825-1904), South African politician. From British Battles on Land and Sea, Vol. IV, by James Grant
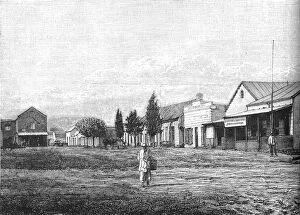
Church Square, Pretoria, c1880sChurch Square, Pretoria, c1880. Episode of the First Boer War, (1880-1881). From British Battles on Land and Sea, Vol. IV, by James Grant. [Cassell Petter & Galpin, London, Paris & Melbourne, c1880]
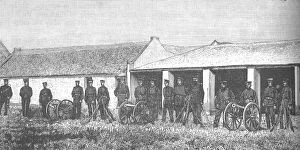
The Artillery of the South African Republic, c1880s. Episode of the First Boer War, (1880-1881). From British Battles on Land and Sea, Vol. IV, by James Grant
Market Street, Pretoria, c1880s. Episode of the First Boer War, (1880-1881). From British Battles on Land and Sea, Vol. IV, by James Grant. [Cassell Petter & Galpin, London, Paris & Melbourne, c1880]
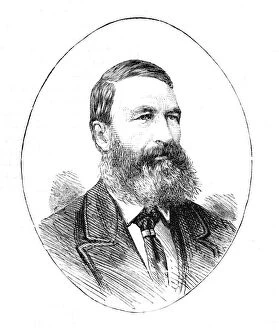
P. J. Joubert, Commandant-General of the Boer Forces, c1881. Piet Joubert (c1831-1900), Commandant-General of the South African Republic. From British Battles on Land and Sea, Vol
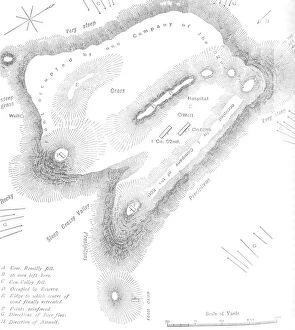
Plan of the Summit of Majuba Hill, (February 27, 1881), c1880s. Episode of the First Boer War (1880-1881). From British Battles on Land and Sea, Vol. IV, by James Grant
Plan of the March to Majuba Hill, (February 26, 1881), c1880s. From British Battles on Land and Sea, Vol. IV, by James Grant. [Cassell Petter & Galpin, London, Paris & Melbourne, c1880]
Plan of the Action on the Ingogo, (February 8, 1881), c1880s, . Episode of the First Boer War (1880-1881). From British Battles on Land and Sea, Vol. IV, by James Grant
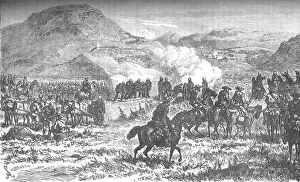
Covering the retreat of the fifty-eighth regiment after the Battle of Laings Nek, c1880. Episode of the First Boer War (1880-1881). From British Battles on Land and Sea, Vol. IV, by James Grant
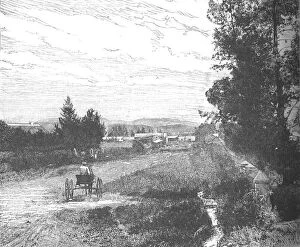
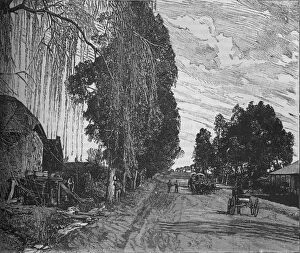
View near Pretoria, c1880. Episode of the First Boer War (1880-1881). From British Battles on Land and Sea, Vol. IV, by James Grant. [Cassell Petter & Galpin, London, Paris & Melbourne, c1880]
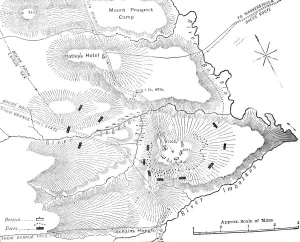
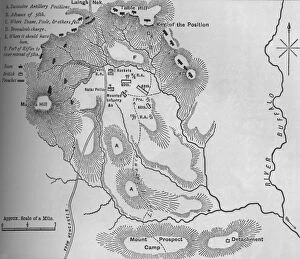
Plan of the Battle of Laings Nek (January 28, 1881), c1880s. Episode of the First Boer War (1880-1881). From British Battles on Land and Sea, Vol. IV, by James Grant
Map of the Theatre of War in the Transvaal, c1880. Episode of the First Boer War (1880-1881). From British Battles on Land and Sea, Vol. IV, by James Grant
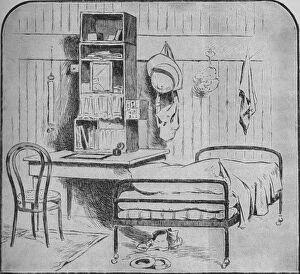
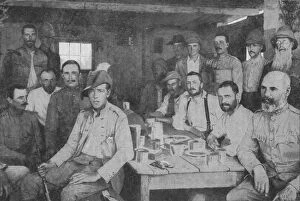
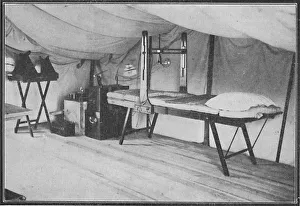
An Officers Room at Pretoria, 1902. The Second Boer War (1899-1902), South Africa. From Battles of the Nineteenth Century, Vol. III
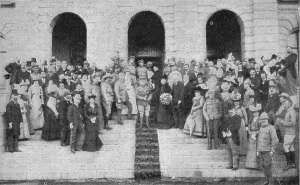
The Visit of the Colonials to Windsor, 1902. Artists: Unknown, James Russell & SonsThe Visit of the Colonials to Windsor, 1902. The Second Boer War (1899-1902), South Africa. From Battles of the Nineteenth Century, Vol. III
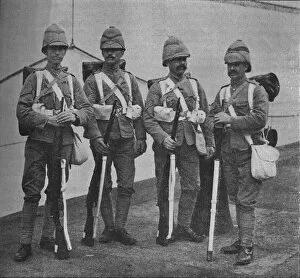
Infantry in War Kit, 1902. Artist: William Gregory & CoInfantry in War Kit, 1902. The Second Boer War (1899-1902), South Africa. From Battles of the Nineteenth Century, Vol. III. [Cassell and Company, Limited, London, Paris, New York & Melbourne, 1902.]
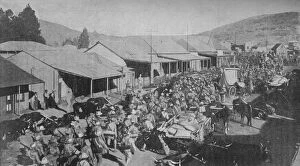
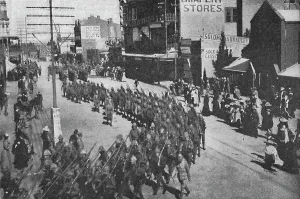
The British Army Marching Through the Streets of Pretoria, 1902. The Second Boer War (1899-1902), South Africa. From Battles of the Nineteenth Century, Vol. III
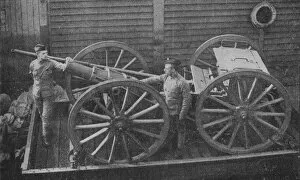
Howitzer on a Railway Truck, 1902. Artist: William Gregory & CoHowitzer on a Railway Truck, 1902. The Second Boer War (1899-1902), South Africa. From Battles of the Nineteenth Century, Vol. III
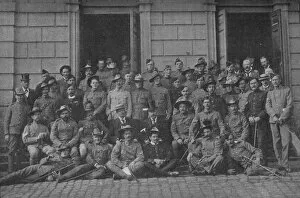
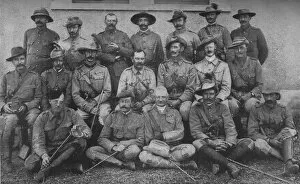
Officers of the Mafeking Relief Force, 1900, (1902). Artist: D Taylor & CoOfficers of the Mafeking Relief Force, 1900, (1902). The Second Boer War (1899-1902), South Africa. From Battles of the Nineteenth Century, Vol. III
Mafeking: Natives Digging a Trench, 1902. Artist: WH WeekesMafeking: Natives Digging a Trench, 1902. The Second Boer War (1899-1902), South Africa. From Battles of the Nineteenth Century, Vol. III
General Snyman, 1902. General Jacobus Philippus Snyman, (1838-1925), officer during the Second Boer War (1899-1902). From Battles of the Nineteenth Century, Vol. III
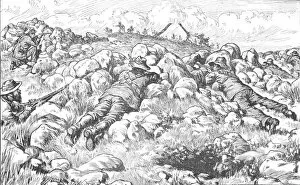
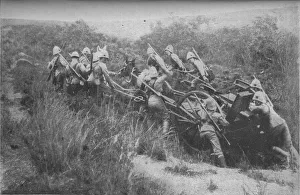
Boer Sharpshooters Near Ladysmith, 1902. The Second Boer War (1899-1902), South Africa. From Battles of the Nineteenth Century, Vol. III
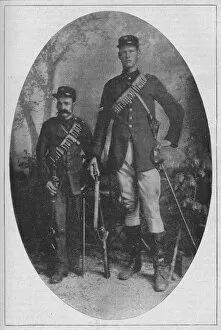
The Smallest Man and the Biggest Man in the Boer Army, 1902. The Second Boer War (1899-1902), South Africa. From Battles of the Nineteenth Century, Vol. III
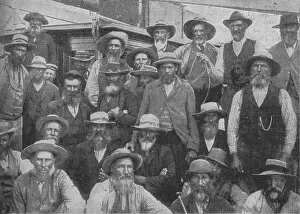
Some of Cronjes Officers Captured at Paardeberg, c1900, (1902). The Second Boer War (1899-1902), South Africa. From Battles of the Nineteenth Century, Vol. III
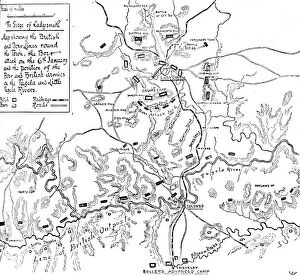
The Siege of Ladysmith, c1899, (1902). The Second Boer War (1899-1902), South Africa. From Battles of the Nineteenth Century, Vol. III
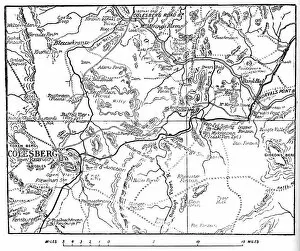
Map to Illustrate the Operations Round Colesberg, 1902. The Second Boer War (1899-1902), South Africa. From Battles of the Nineteenth Century, Vol. III
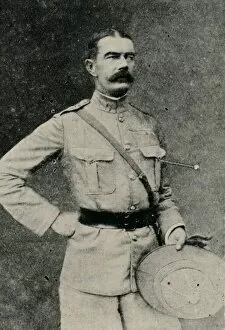
Major-General Lord Kitchener, 1902. Artist: Gabriel LekegianMajor-General Lord Kitchener, 1902. Field Marshal Horatio Herbert Kitchener, (1850-1916), British Army officer. The Second Boer War (1899-1902), South Africa
Roughing It By The Modder River: The Officers Mess of the 3rd Grenadier Guards, 1902. The Second Boer War (1899-1902), South Africa. From Battles of the Nineteenth Century, Vol. III
Rifle Brigade Practising Hill Climbing with Maxim, 1902. The Second Boer War (1899-1902), South Africa. From Battles of the Nineteenth Century, Vol. III
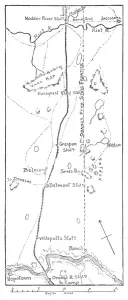
Lord Methuens Line of Advance to the Modder River, 1902. The Second Boer War (1899-1902), South Africa. From Battles of the Nineteenth Century, Vol. III
Feet Inspection at Estcourt, 1902. The Second Boer War (1899-1902), South Africa. From Battles of the Nineteenth Century, Vol. III
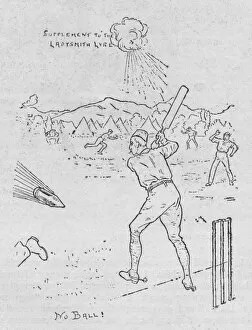
Humours of the Siege, 1902. The Second Boer War (1899-1902), South Africa. From Battles of the Nineteenth Century, Vol. III. [Cassell and Company, Limited, London, Paris, New York & Melbourne, 1902.]
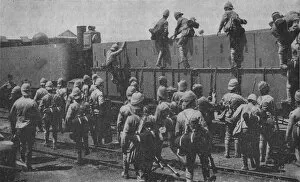
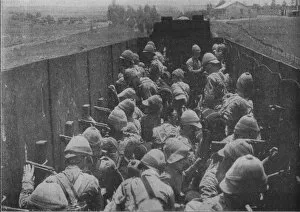
Getting into an Armoured Train, 1902. From Battles of the Nineteenth Century, Vol. III. [Cassell and Company, Limited, London, Paris, New York & Melbourne, 1902.]
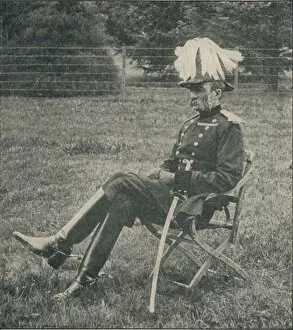
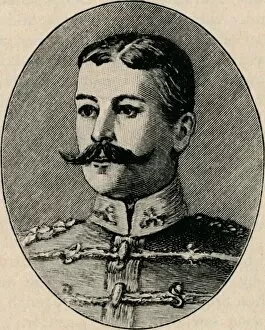
Sir Francis Clery, 1902. Artist: JT CummingSir Francis Clery, 1902. Major General Francis Clery (1838-1926), British Army officer during the Anglo-Zulu War and later during the Second Boer War. From Battles of the Nineteenth Century, Vol
Questioning a Zulu to the Whereabouts of the Boers, 1902. The Second Boer War (1899-1902), South Africa. From Battles of the Nineteenth Century, Vol. III
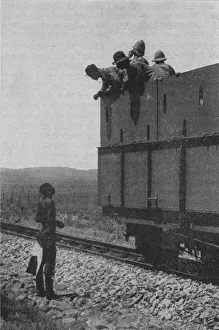
Firing from an Armoured Train, 1902. The Second Boer War (1899-1902), South Africa. From Battles of the Nineteenth Century, Vol. III
A Church at Ladysmith Used as a Hospital, 1902. The Second Boer War (1899-1902), South Africa. From Battles of the Nineteenth Century, Vol. III
General Pretorius, 1902General Pretorius - Taken prisoner at Elandslaagte, 1902. Andries Wilhelmus Jacobus Pretorius, (1798-1853), leader of the Boers. From Battles of the Nineteenth Century, Vol. III
Colonel Schiel, 1902. Adolf Schiel, (1858-1903) was an officer during the Anglo-Boer war (1899-1902).From Battles of the Nineteenth Century, Vol. III
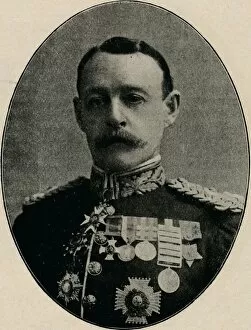
Sir Archibald Hunter, 1902. Sir Archibald Hunter, (1856-1836), British officer who took part to the Boer War. After a photograph by Alexander Bassano, (1829 -1913)
The Executive Council of the South African Republic, c1899, (1902). Back: Andries Daniel Wynand Wolmarans (1857 - 1928), Francis William Reitz, Jr
Grenadier Guards (with their new hats) relieving guard at Lord Robertss headquarters, Pretoria, 1900. From Black & White Budget, Vol. III. [The Black and White Publishing Company, J P
In the Transvaal, 1900In the Transvaal - The Cheshires returning to the Fort after Divine Service at St. Mary s, Johannesburg, 1900. From Black & White Budget, Vol. III. [The Black and White Publishing Company, J P
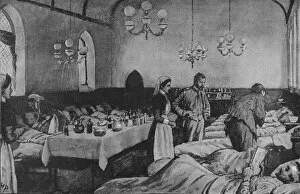
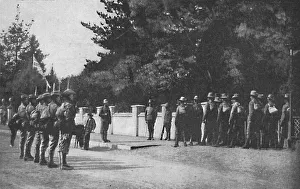
The opening of the Palace of Justice as a Hospital by Lord Roberts, 1900. Artist: BowersThe opening of the Palace of Justice as a Hospital by Lord Roberts, 1900. From Black & White Budget, Vol. III. [The Black and White Publishing Company, J P
Interior of a Portland field hospital during the Boer War in South Africa, 1900. Artist: Anthony BowlbyInterior of a Portland field hospital during the Boer War in South Africa. The X-rays and operating bed, 1900. From Black & White Budget, Vol. III. [The Black and White Publishing Company, J P
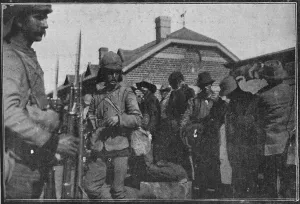
Boer Prisoners at Vereeniging, 1900. Artist: Biograph CompanyBoer Prisoners at Vereeniging. They Are Looking Wistfully at Tommys Cheese-Knife, Commonly Known as a Bayonet, 1900. From Black & White Budget, Vol. III. [The Black and White Publishing Company, J P
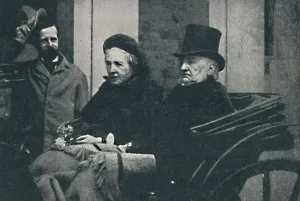
Mr. and Mrs. Gladstone driving through Glasgow at the General Election of 1892, 1900An echo of the past - Mr. and Mrs. Gladstone driving through Glasgow at the General Election of 1892, 1900. From Black & White Budget, Vol. III. [The Black and White Publishing Company, J P