mail_outline sales@mediastorehouse.com
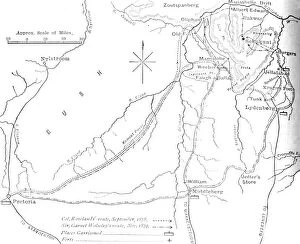
Sketch Map of Sekukunis Country, c1880. From British Battles on Land and Sea, Vol. IV, by James Grant. [Cassell Petter & Galpin, London, Paris & Melbourne, c1880]
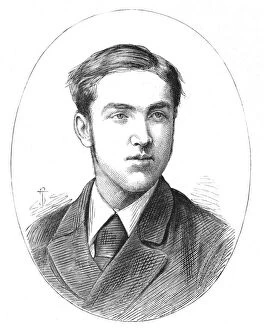
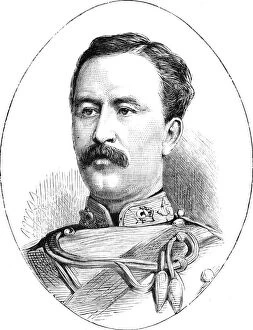
General Gordon, c1880. Artist: Adams and ScanlanGeneral Gordon, c1880. Major General Charles George Gordon, (1833-1885), British Army officer. Episode of the Anglo-Zulu Wars (1879-1896). From British Battles on Land and Sea, Vol
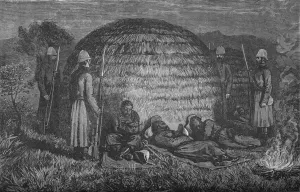
Major Marter and his men guarding Cetewayo in the native Kraal, c1880. Episode of the Anglo-Zulu Wars (1879-1896). From British Battles on Land and Sea, Vol. IV, by James Grant
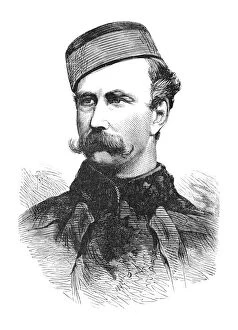
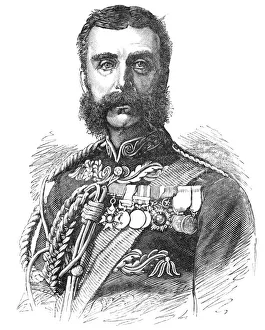
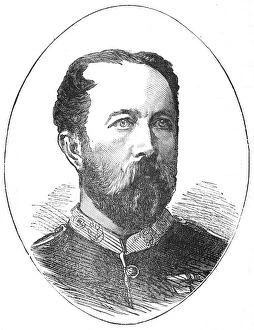
Major Marter, c1880. Episode of the Anglo-Zulu Wars (1879-1896). From British Battles on Land and Sea, Vol. IV, by James Grant. [Cassell Petter & Galpin, London, Paris & Melbourne, c1880]
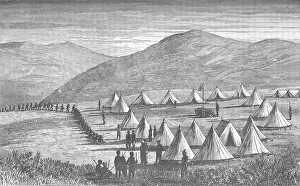
Sir Garnet Wolseleys Camp at Ulundi: Zulus Coming In To Give Up Their Arms, c1880. Episode of the Anglo-Zulu Wars (1879-1896). From British Battles on Land and Sea, Vol. IV, by James Grant
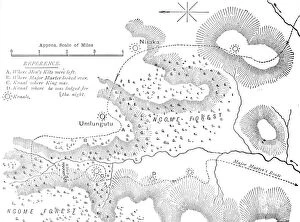
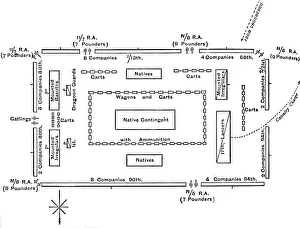
Plan of the ground where Cetewayo was captured, c1880. From British Battles on Land and Sea, Vol. IV, by James Grant. [Cassell Petter & Galpin, London, Paris & Melbourne, c1880]
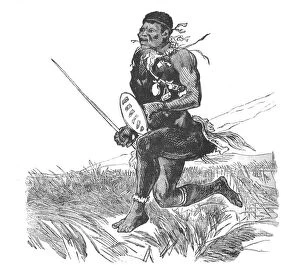
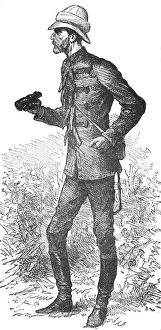
Swazi Scout, c1880. Episode of the Anglo-Zulu Wars (1879-1896). From British Battles on Land and Sea, Vol. IV, by James Grant. [Cassell Petter & Galpin, London, Paris & Melbourne, c1880]
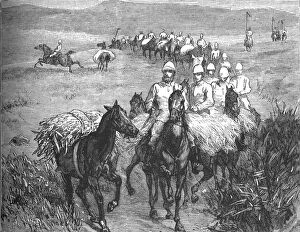
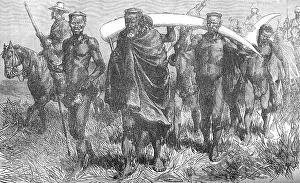
Lancers Returning from a Foray, c1880. Episode of the Anglo-Zulu Wars (1879-1896). From British Battles on Land and Sea, Vol. IV, by James Grant
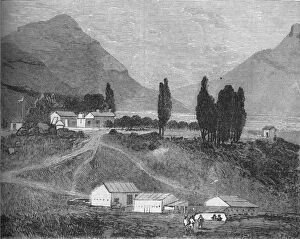
The Residency, Maseru, Basutoland, Abode of the Chief Magistrate, Commandant Griffiths, c1880. Colonel Charles Duncan Griffith CMG (5 September 1830 - 17 October 1906)
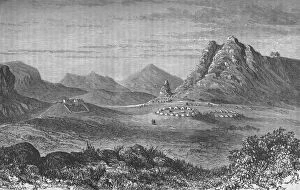
Thaba Bosigo, the Stronghold of the Basutos, c1880. Episode of the Xhosa Wars (also known as the Cape Frontier Wars, Kaffir Wars), from 1779 to 1879 in South Africa
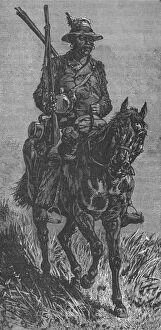
A Basuto Scout, c1880. Episode of the Xhosa Wars (also known as the Cape Frontier Wars, Kaffir Wars), from 1779 to 1879 in South Africa. From British Battles on Land and Sea, Vol. IV, by James Grant
Sergeant R. G. Scott, V. C. Cape Mounted Rifles, c1880Sergeant R. G. Scott, V.C. Cape Mounted Rifles, c1880. From British Battles on Land and Sea, Vol. IV, by James Grant. [Cassell Petter & Galpin, London, Paris & Melbourne, c1880]
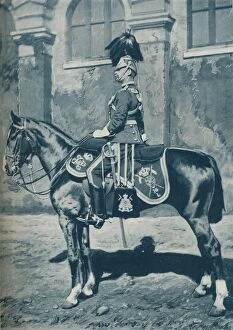
Lieutenant, 16th Lancers, c1880. Artist: Gregory & CoLieutenant, 16th Lancers, c1880. Episode of the Xhosa Wars (also known as the Cape Frontier Wars, Kaffir Wars), from 1779 to 1879 in South Africa. From British Battles on Land and Sea, Vol
Tribal Map of South Africa, c1880. From British Battles on Land and Sea, Vol. IV, by James Grant. [Cassell Petter & Galpin, London, Paris & Melbourne, c1880]
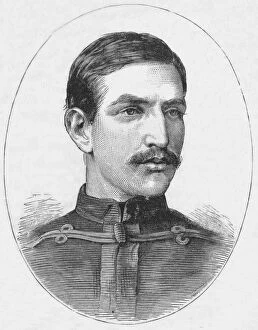
Lieutenant Melvill, c1880. Teignmouth Melvill, (1842-1879), English military officer. Episode of the Anglo-Zulu Wars (1879-1896). From British Battles on Land and Sea, Vol. IV, by James Grant
Lord Chelmsford, c1880. Frederic Augustus Thesiger, 2nd Baron Chelmsford (1827-1905), military commander. Episode of the Anglo-Zulu Wars (1879-1896). From British Battles on Land and Sea, Vol
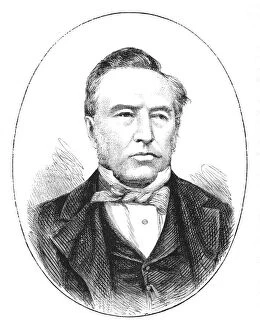
Sir Theophilus Shepstone, c1880. Sir Theophilus Shepstone (1817-1893), British South African statesman. Episode of the Anglo-Zulu Wars (1879-1896). From British Battles on Land and Sea, Vol
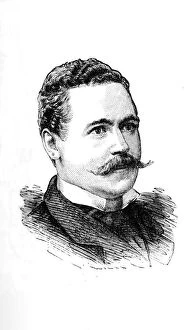
Major W. M. Laurence, c1880. From British Battles on Land and Sea, Vol. IV, by James Grant. [Cassell Petter & Galpin, London, Paris & Melbourne, c1880]
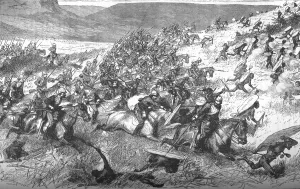
Charge of the Seventeenth Lancers at Ulundi, 1879, (c1880). Episode of the Anglo-Zulu Wars (1879-1896). From British Battles on Land and Sea, Vol. IV, by James Grant
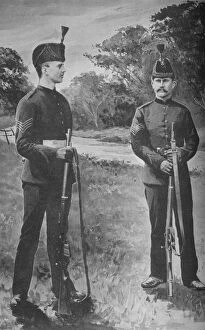
Sergeants, the Rifle Brigade. c1880. Episode of the Anglo-Zulu Wars, (1879-1896). From British Battles on Land and Sea, Vol. IV, by James Grant
Captain The Hon. E. V. Wyatt-Edgell, c1880. Episode of the Anglo-Zulu Wars (1879-1896). From British Battles on Land and Sea, Vol. IV, by James Grant
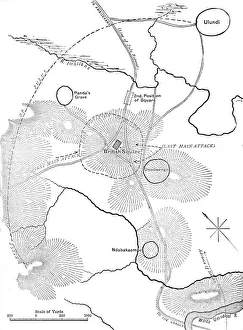
Plan of the Battle of Ulundi, (July 4, 1879), c1880. From British Battles on Land and Sea, Vol. IV, by James Grant. [Cassell Petter & Galpin, London, Paris & Melbourne, c1880]
Dispositions in the Square at Ulundi, (July 4, 1879), c1880. Episode of the Anglo-Zulu Wars (1879-1896). From British Battles on Land and Sea, Vol. IV, by James Grant
Plan of Laagers on the March to Ulundi, (July 4, 1879), c1880. From British Battles on Land and Sea, Vol. IV, by James Grant. [Cassell Petter & Galpin, London, Paris & Melbourne, c1880]
Sir Evelyn Wood, c1880. Field Marshal Sir Henry Evelyn Wood (1838-1919), British Army officer. From British Battles on Land and Sea, Vol. IV, by James Grant
Lord Chelmsford, (portrait by an Officer Made Shortly Before the Battle of Ulundi), c1880. Frederic Augustus Thesiger, 2nd Baron Chelmsford (1827-1905)
Peace Messengers from Cetewayo, c1880. Episode of the Anglo-Zulu Wars (1879-1896). From British Battles on Land and Sea, Vol. IV, by James Grant
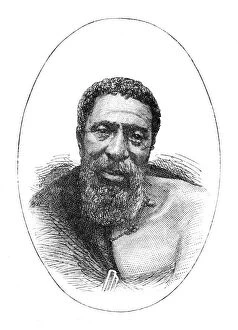
Kreli, Chief of the Galekas, 1877, (c1880). Episode of the Xhosa Wars (also known as the Cape Frontier Wars, Kaffir Wars), from 1779 to 1879 in South Africa
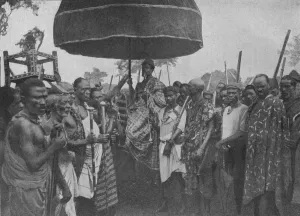
The Subdued King of Akim Carried on his Chair of State, 1902. The Anglo-Ashanti Wars (1824 -1901), Ghana. From Battles of the Nineteenth Century, Vol. III
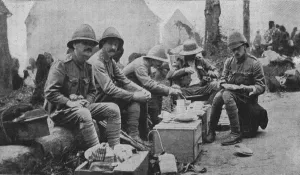
On the March to Kumassi: A Halt for Dinner, 1902. The Anglo-Ashanti Wars (1824 -1901) Ghana. From Battles of the Nineteenth Century, Vol. III
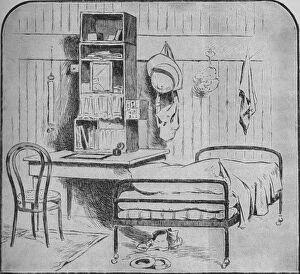
An Officers Room at Pretoria, 1902. The Second Boer War (1899-1902), South Africa. From Battles of the Nineteenth Century, Vol. III
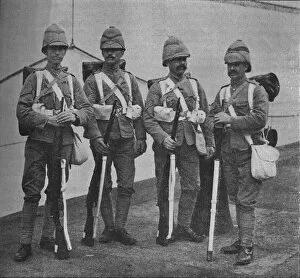
Infantry in War Kit, 1902. Artist: William Gregory & CoInfantry in War Kit, 1902. The Second Boer War (1899-1902), South Africa. From Battles of the Nineteenth Century, Vol. III. [Cassell and Company, Limited, London, Paris, New York & Melbourne, 1902.]
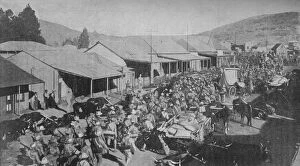
The British Army Marching Through the Streets of Pretoria, 1902. The Second Boer War (1899-1902), South Africa. From Battles of the Nineteenth Century, Vol. III
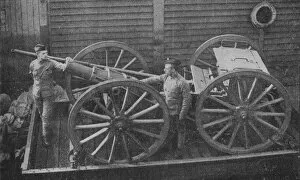
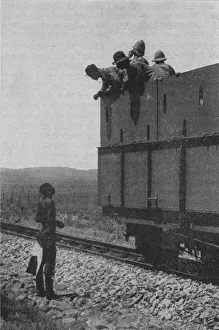
Howitzer on a Railway Truck, 1902. Artist: William Gregory & CoHowitzer on a Railway Truck, 1902. The Second Boer War (1899-1902), South Africa. From Battles of the Nineteenth Century, Vol. III
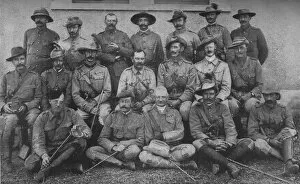
Officers of the Mafeking Relief Force, 1900, (1902). Artist: D Taylor & CoOfficers of the Mafeking Relief Force, 1900, (1902). The Second Boer War (1899-1902), South Africa. From Battles of the Nineteenth Century, Vol. III
Mafeking: Natives Digging a Trench, 1902. Artist: WH WeekesMafeking: Natives Digging a Trench, 1902. The Second Boer War (1899-1902), South Africa. From Battles of the Nineteenth Century, Vol. III
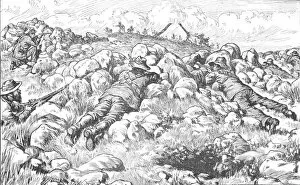
Boer Sharpshooters Near Ladysmith, 1902. The Second Boer War (1899-1902), South Africa. From Battles of the Nineteenth Century, Vol. III
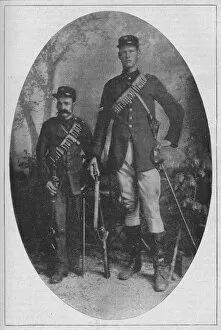
The Smallest Man and the Biggest Man in the Boer Army, 1902. The Second Boer War (1899-1902), South Africa. From Battles of the Nineteenth Century, Vol. III
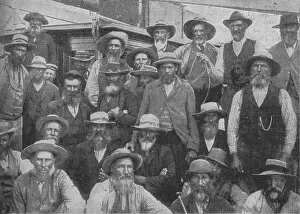
Some of Cronjes Officers Captured at Paardeberg, c1900, (1902). The Second Boer War (1899-1902), South Africa. From Battles of the Nineteenth Century, Vol. III
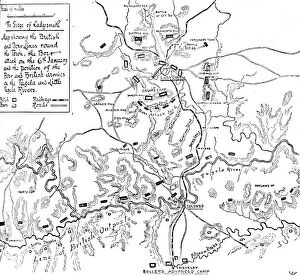
The Siege of Ladysmith, c1899, (1902). The Second Boer War (1899-1902), South Africa. From Battles of the Nineteenth Century, Vol. III
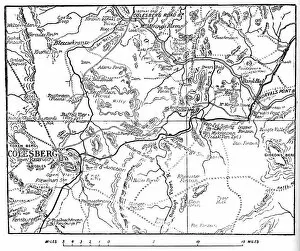
Map to Illustrate the Operations Round Colesberg, 1902. The Second Boer War (1899-1902), South Africa. From Battles of the Nineteenth Century, Vol. III
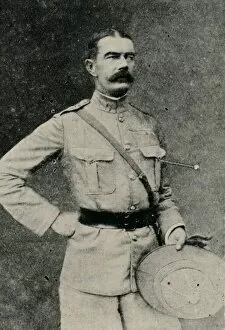
Major-General Lord Kitchener, 1902. Artist: Gabriel LekegianMajor-General Lord Kitchener, 1902. Field Marshal Horatio Herbert Kitchener, (1850-1916), British Army officer. The Second Boer War (1899-1902), South Africa
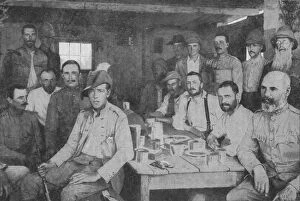
Roughing It By The Modder River: The Officers Mess of the 3rd Grenadier Guards, 1902. The Second Boer War (1899-1902), South Africa. From Battles of the Nineteenth Century, Vol. III
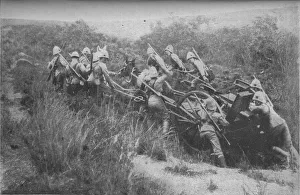
Rifle Brigade Practising Hill Climbing with Maxim, 1902. The Second Boer War (1899-1902), South Africa. From Battles of the Nineteenth Century, Vol. III
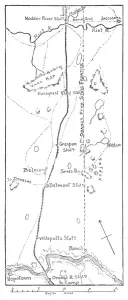
Lord Methuens Line of Advance to the Modder River, 1902. The Second Boer War (1899-1902), South Africa. From Battles of the Nineteenth Century, Vol. III
Feet Inspection at Estcourt, 1902. The Second Boer War (1899-1902), South Africa. From Battles of the Nineteenth Century, Vol. III
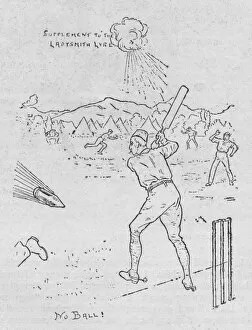
Humours of the Siege, 1902. The Second Boer War (1899-1902), South Africa. From Battles of the Nineteenth Century, Vol. III. [Cassell and Company, Limited, London, Paris, New York & Melbourne, 1902.]
Questioning a Zulu to the Whereabouts of the Boers, 1902. The Second Boer War (1899-1902), South Africa. From Battles of the Nineteenth Century, Vol. III