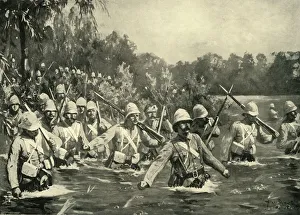
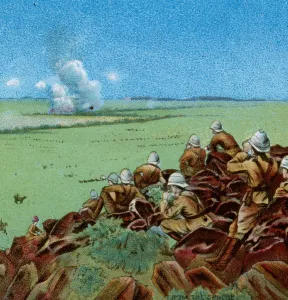
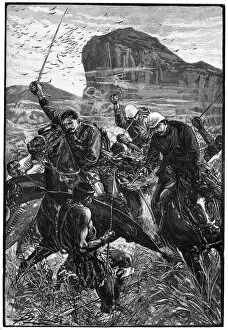
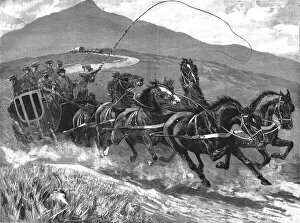
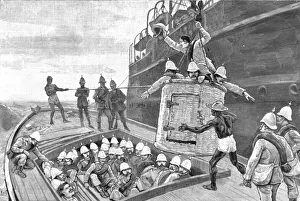
The dash with the colours, Battle of Isandlwana, Anglo-Zulu War, 22 January 1879, (1900)
The dash with the colours, Battle of Isandlwana, Anglo-Zulu War, South Africa, 22 January 1879, (1900). Illustration from The Life and Times of Queen Victoria, by Robert Wilson, Volume IV