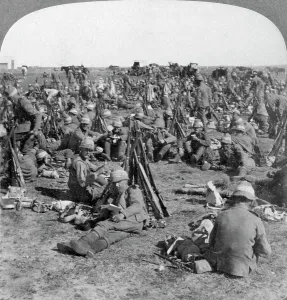
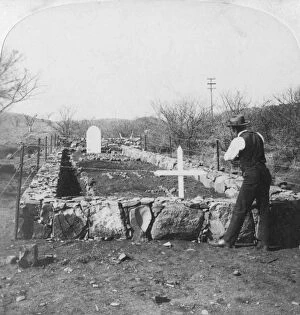
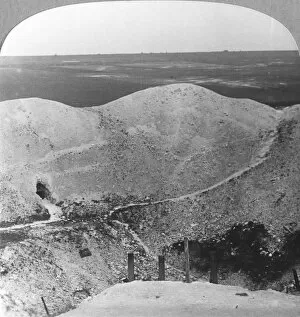
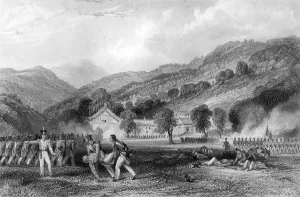
Where the fallen heroes lie, foot of Harts Hill, Colenso, South Africa, Boer War, 1901. Artist: Underwood & Underwood
Where the fallen heroes lie, foot of Harts Hill, Colenso, South Africa, Boer War, 1901. On 23 February 1900, during the Battle of the Tugela Heights
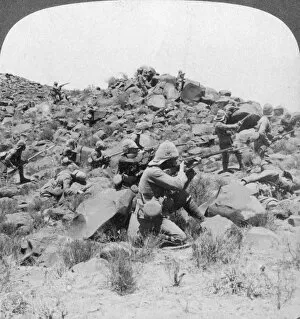
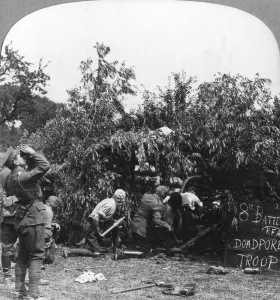
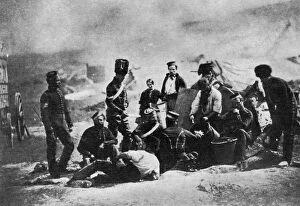
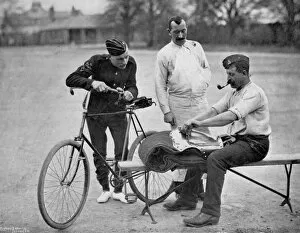
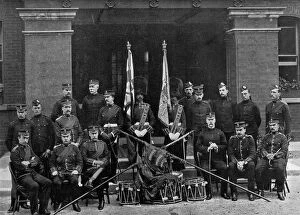
The cook house of the 8th Hussars, Crimean War, 1855, (1951). Artist: Roger Fenton
The cook house of the 8th Hussars, Crimean War, 1855 (1951). A print from 100 Years in Pictures, A panorama of History in the Making, text by DC Somervell, Odhams press Limited, London, 1951