mail_outline sales@mediastorehouse.com
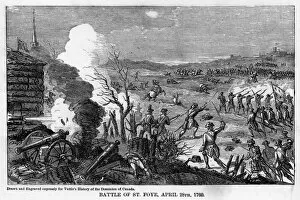
Battle of St Foye, April 28th 1760, (1877). Illustration from Popular history of the Dominion of Canada, with art illustrations
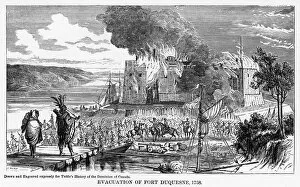
Evacuation of Fort Duquesne, 1758, (1877). The site was of strategic importance during the French and Indian War. Illustration from Popular history of the Dominion of Canada, with art illustrations
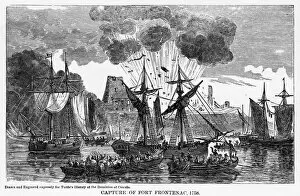
Capture of Fort Frontenac, 1758, (1877). The British attacking Frontenac, a strategic French trading post and military fort in what is now Ontario
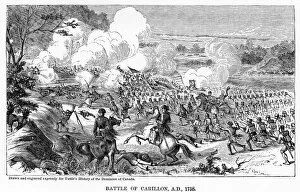
Battle of Carillon, AD 1758, (1877). The Battle of Carillon was fought at Fort Carillon in what was then the British colony of New York
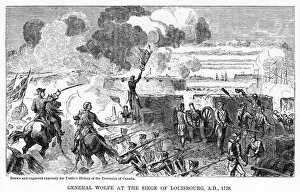
General Wolfe at the Siege of Louisbourg, AD 1758, (1877). British military leader James Wolfe laid siege to the Fortress of Louisbourg in New France (Nova Scotia). The French capitulated
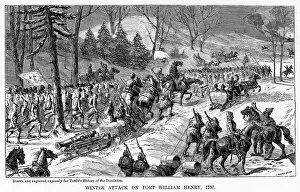
Winter Attack on Fort William Henry, New York State, 1757, (c1877). The British fort being attacked by the French. Illustration from Popular history of the Dominion of Canada, with art illustrations
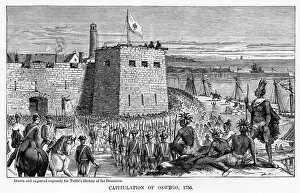
Capitulation of Oswego, 1756, (1877). French forces defeated the British in the Battle of Fort Oswego in New York state. Illustration from Popular history of the Dominion of Canada
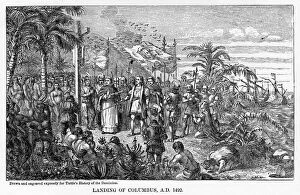
Landing of Columbus, AD 1492, (1877). Christopher Columbus arriving in America, 12 May 1492. Sponsored by Ferdinand and Isabella of Spain, Columbus set out to discover a westward route to Asia
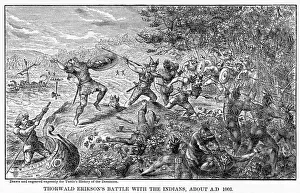
Thorwald Eriksons Battle with the Indians, about AD 1003, (1877). Norse explorer Thorvald Eriksson fighting Native Americans
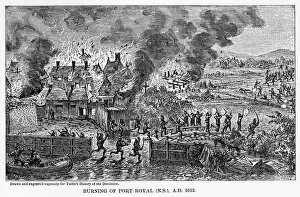
Burning of Port Royal (Nova Scotia), AD 1613, (1877). The French settlement was burnt to the ground by an English invasion force
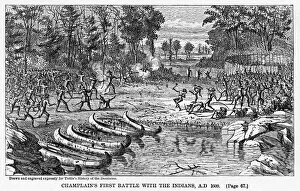
Champlains First Battle with the Indians, AD 1609, (1877). French explorer Samuel de Champlain fights Native Americans. Illustration from Popular history of the Dominion of Canada
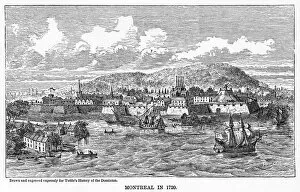
Montreal in 1729, (1877). Illustration from Popular history of the Dominion of Canada, with art illustrations, from the earliest settlement of the British-American colonies to the present time;
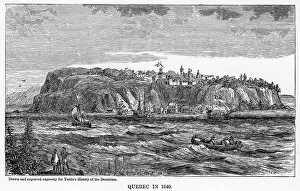
Quebec in 1640, (1877). Illustration from Popular history of the Dominion of Canada, with art illustrations, from the earliest settlement of the British-American colonies to the present time;
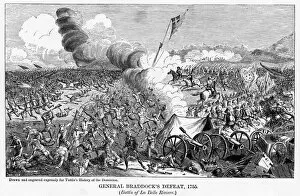
General Braddocks Defeat, 1755, (1877). British military leader Edward Braddock is killed in Pennsylvania during the French and Indian War
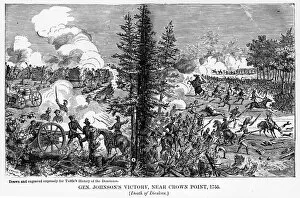
General Johnsons Victory, near Crown Point, 1755, (1877). British victory against the French in New York State. Illustration from Popular history of the Dominion of Canada, with art illustrations
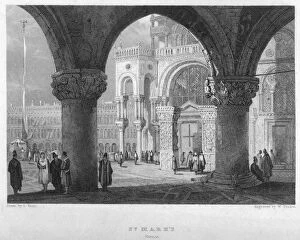
St Marks, Venice, 19th century. Artist: William FindenSt Mark s, Venice, 19th century
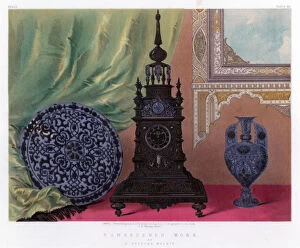
Damascened Work, 19th century. Artist: John Burley WaringDamascened Work, 19th century. By E Zuloaga, Madrid
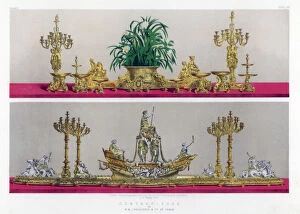
Centrepieces, 19th century. Artist: John Burley WaringCentrepieces, 19th century. By Christofle & Co, Paris
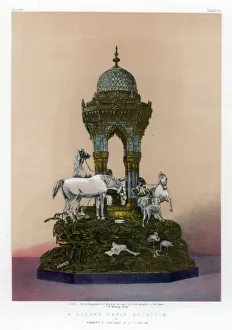
A Silver Table Fountain, 19th century. Artist: John Burley WaringA Silver Table Fountain, 19th century. Bys Garrard and Co, London
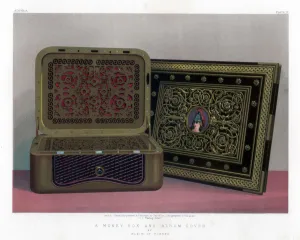
A Money Box and Album Cover, 19th century. Artist: John Burley WaringA Money Box and Album Cover, 19th century. By Klein of Vienna
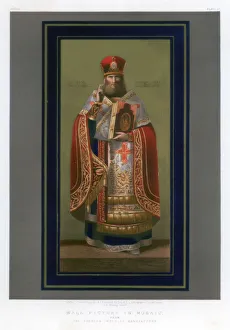
Wall Picture in Mosaic, 19th century. Artist: John Burley WaringWall Picture in Mosaic, 19th century. From the Russian Imperial Manufactory
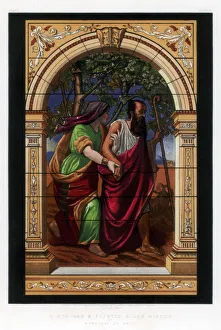
A Stained and Painted Glass Window, 19th century. Artist: John Burley WaringA Stained and Painted Glass Window, 19th century. By Marechal of Metz, France
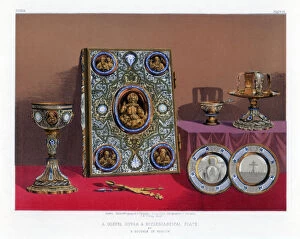
A Gospel Cover and Ecclesiastical Plate, 19th century. Artist: John Burley WaringA Gospel Cover and Ecclesiastical Plate, 19th century. Bys Goobkin of Moscow
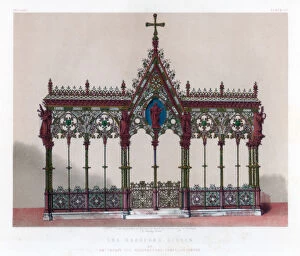
The Hereford Screen, 19th century. Artist: John Burley WaringThe Hereford Screen, 19th century. The screen was designed for Hereford Cathedral in 1862 by Sir George Gilbert Scott and made by Skidmores Art Manufactory Company, Coventry
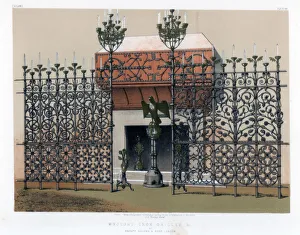
Wrought Iron Grilles, 19th century. Artist: John Burley WaringWrought Iron Grilles, 19th century. By Benham & Sons, London
The Glass Case, 19th century. Artist: John Burley WaringThe Glass Case, 19th century. By F & C Osler of London and Birmingham
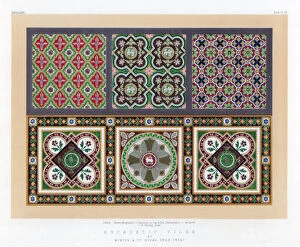
Encaustic Tiles, 19th century. Artist: John Burley WaringEncaustic Tiles, 19th century. By Minton & Co, Stoke Upon Trent
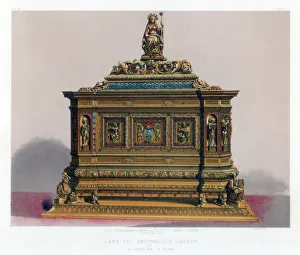
Cardinal Antonellis Casket, 19th century. Artist: John Burley WaringCardinal Antonellis Casket, 19th century. By Florentine of Rome
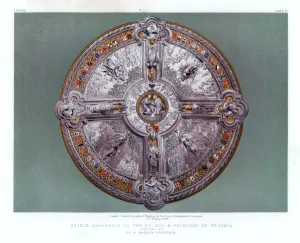
Shield Presented to the Prince and Princess of Prussia. 19th century. Artist: John Burley WaringShield Presented to the Prince and Princess of Prussia. 19th century
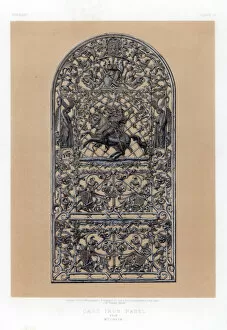
Cast Iron Panel from Mulheim, Germany, 19th century. Artist: John Burley WaringCast Iron Panel from Mulheim, Germany, 19th century
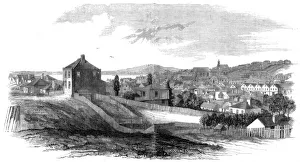
View of the city of Auckland, New Zealand, with the new commercial embankment, 1860. A print from The Illustrated London News, (10 May 1860)
East view of Auckland, New Zealand, 1860. Artist: WH SutcliffeEast view of Auckland, New Zealand, 1860. A print from The Illustrated London News, (10 May 1860)
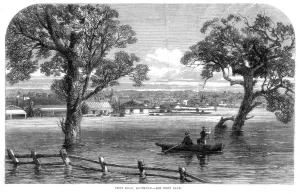
Punt Road, Richmond - Floods at Melbourne, Australia, 1864. A print from The Illustrated London News, (27 February 1864)
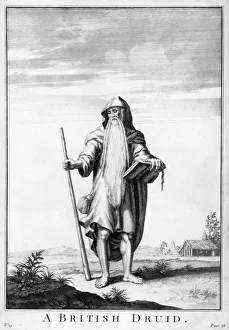
A British Druid
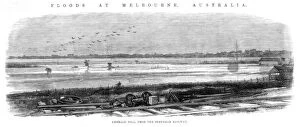
Emerald Hill, from the Suburban Railway - Floods at Melbourne, Australia, 1864. A print from The Illustrated London News, (27 February 1864)
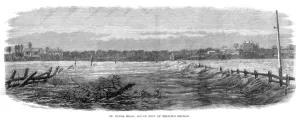
St Kilda Road, south side of Princes Bridge - Floods at Melbourne, Australia, 1864. A print from The Illustrated London News, (27 February 1864)
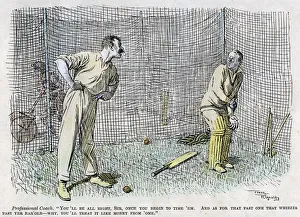
Cricket, 1923. Professional Coach: You ll be all right, Sir, once you begin to time em. And as for that fast one that whizzes past yer ear ole - why you ll treat it like money from ome
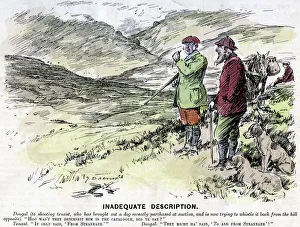
Inadequate Description, 1906. Dougal (to shooting tenant, who has brought out a dog recently purchased at auction, and is now trying to whistle it back from the hill opposite)
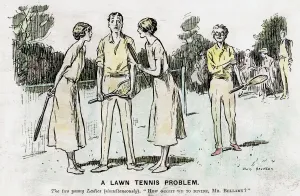
A Lawn Tennis Problem, 1923. The two young ladies (simultaneously): How ought we to divide, Mr Bellamy? Illustration from Punch, or The London Charivari, (4 July 1923)
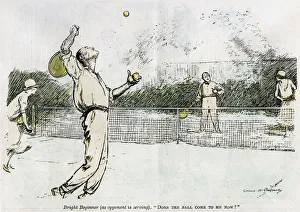
Tennis, 1920. Bright Beginner (as opponent is serving): Does the ball come to me now? Illustration from Punch, or The London Charivari, (7 July 1920)
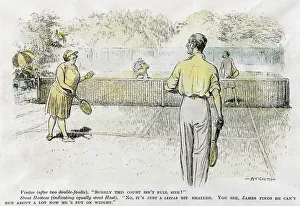
Tennis, 1931. Artist: AtsmithTennis, 1931. Visitor (after two double-faults): Surely this court isn t full size? Stout Hostess (indicating equally stout Host): No, its just a leetle bit smaller
Carabineers; French Army in Algeria
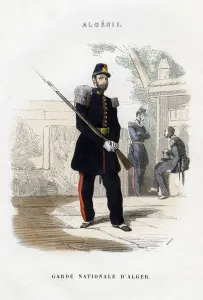
Algerian National Guard; French Army in Algeria. Artist: DumontAlgerian National Guard; French Army in Algeria
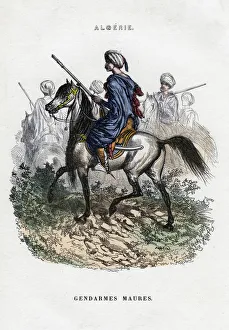
Moorish Gendarmes; French Army in AlgeriaMoorish Gendarmes ; French Army in Algeria
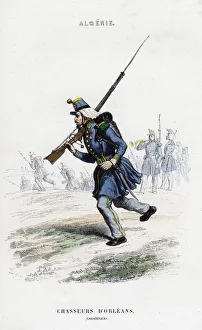
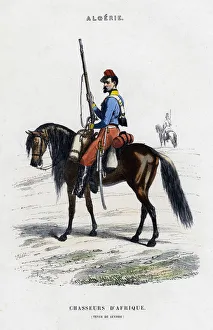
African Light Horse; French Army in Algeria. The Chasseurs d Afrique (literally Hunters of Africa although African Light Horse would be an alternative translation)
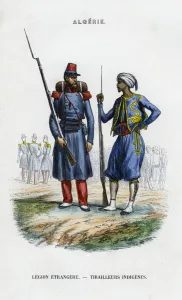
Foreign legionnaire and native sharpshooter; French Army in Algeria
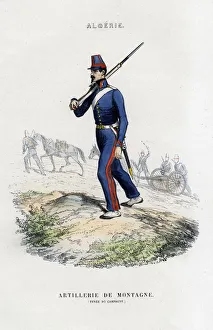
Mountain artillery; French Army in Algeria
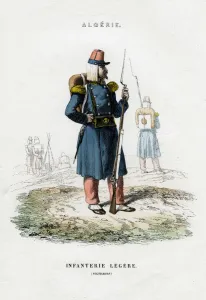
Light infantry; French Army in Algeria. Voltigeurs were elite light infantry trained in marksmanship