mail_outline sales@mediastorehouse.com
Lochiels Charge at Killycrankie, 27 July 1689, (c1880). The Battle of Killiecrankie was fought between Highland Scottish clans supporting King James II and VII
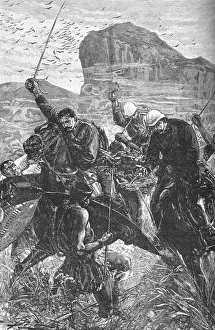
Isandhlwana: The Dash with the Colours, 1879, (c1880). Episode of the Anglo-Zulu Wars (1879-1896). From British Battles on Land and Sea, Vol. IV, by James Grant
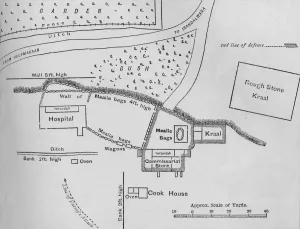
Plan of the Defences at Rorkes Drift, (Jan. 22, 1879), c1880Plan of the Defences at Rorkes Drift (Jan. 22, 1879), c1880. Episode of the Anglo-Zulu Wars (1879-1896). From British Battles on Land and Sea, Vol. IV, by James Grant
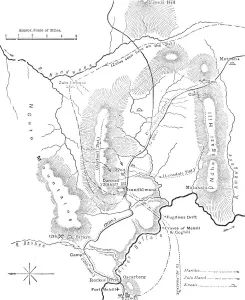
Plan of the Marches near Isandhlwana between Jan. 12th and 22nd, 1879, c1880. From British Battles on Land and Sea, Vol. IV, by James Grant. [Cassell Petter & Galpin, London, Paris & Melbourne, c1880]
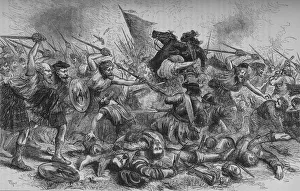
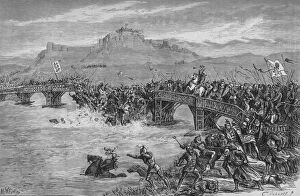
The Battle of Stirling Bridge, 11 September 1297, (c1880). The Battle of Stirling Bridge was a battle of the First War of Scottish Independence
Guadaloupe, c1880. Artist: W. PGuadaloupe, c1880. From British Battles on Land and Sea, Vol. III, by James Grant. [Cassell Petter & Galpin, London, Paris & New York, c1880]
Plan of the Battle of Isandhlwana, (Jan. 22, 1879), c1880. From British Battles on Land and Sea, Vol. IV, by James Grant. [Cassell Petter & Galpin, London, Paris & Melbourne, c1880]
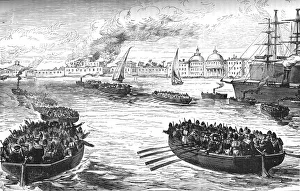
Landing Troops at the Khedives Palace at Alexandria after the Bombardment, 1882, (c1882-1885)Landing Troops at the Khedives Palace at Alexandria after the Bombardment, 1882, (c1882-85). Episode of the Anglo-Egyptian War (1882). From British Battles on Land and Sea, Vol. IV, by James Grant
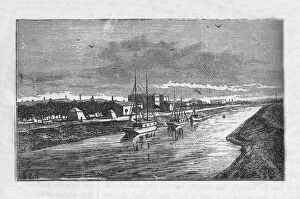
Umballa, c1880. Episode of the Anglo-Persian War (1856-1857). From British Battles on Land and Sea, Vol. III, by James Grant. [Cassell Petter & Galpin, London, Paris & New York, c1880]
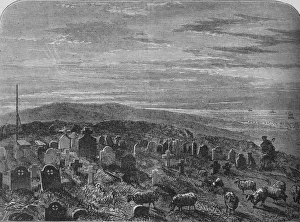
Cathcarts Hill, c1880. Episode of the Crimean War (1853-1856). From British Battles on Land and Sea, Vol. III, by James Grant. [Cassell Petter & Galpin, London, Paris & New York, c1880]
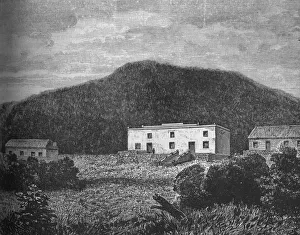
President Krugers Country House, c1880. Episode of the First Boer War, (1880-1881). From British Battles on Land and Sea, Vol. IV, by James Grant
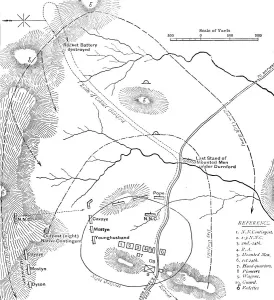
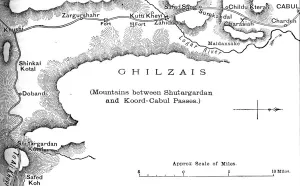
Plan of the Road from the Shutargardan Pass to Cabul, c1880. From British Battles on Land and Sea, Vol. IV, by James Grant. [Cassell Petter & Galpin, London, Paris & Melbourne, c1880]
General Gordon, c1885. Charles George Gordon, (1833-1885), British Army officer. After a photograph by Adams & Scanlan. From British Battles on Land and Sea, Vol. IV, by James Grant
William Wallace, c1270-1305, (c1880). Sir William Wallace (c1270- 23 August 1305) was a Scottish knight who became one of the main leaders during the Wars of Scottish Independence in the late 13th
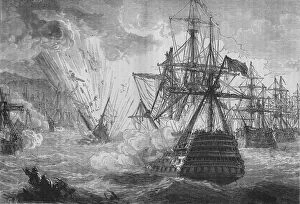
Battle of Navarino, c1880. Artist: C. RBattle of Navarino, c1880. Episode of Greek War of Independence (1821-1832). From British Battles on Land and Sea, Vol. III, by James Grant. [Cassell Petter & Galpin, London, Paris & New York, c1880]
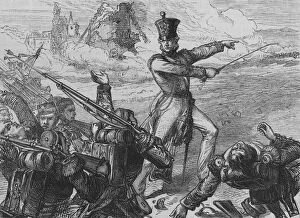
Colonel Fitzgeralds Charge at San Sebastian, c1880. Field Marshal Sir John Forster FitzGerald (c1785-1877), Irish officer in the British Army. Episode of the Peninsula War (1807-1814)
Ismailia, c1882. Episode of the Anglo-Egyptian War (1882). From British Battles on Land and Sea, Vol. IV, by James Grant. [Cassell Petter & Galpin, London, Paris & Melbourne, c1880]
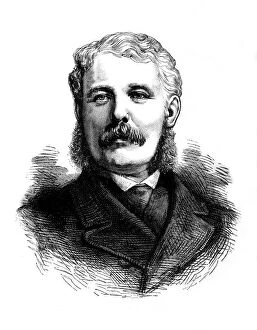
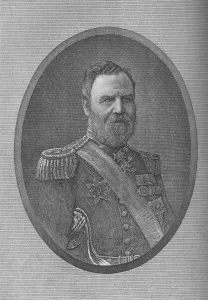
General Sir Frederick Haines, Commander-in-Chief of the Army in India, c1880. Frederick Paul Haines (1819-1909), British Army officer. From British Battles on Land and Sea, Vol. IV, by James Grant
Captain St. John Frome, c1880. Episode of the Second Anglo-Afghan War, from 1878 to 1880. From British Battles on Land and Sea, Vol. IV, by James Grant
Lord Alcester, c1882. Frederick Beauchamp Paget Seymour, 1st Baron Alcester (1821-1895), British naval commander. After a photograph by J. McLardy. From British Battles on Land and Sea, Vol
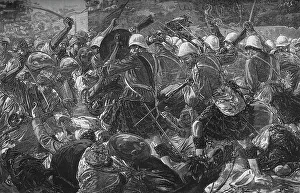
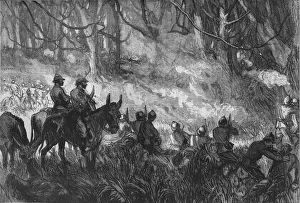
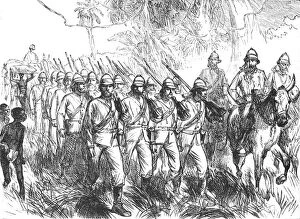
Battle of Baba Wali: The Highlanders Clearing a Village, c1880. Episode of the Second Anglo-Afghan War, from 1878 to 1880. From British Battles on Land and Sea, Vol. IV, by James Grant
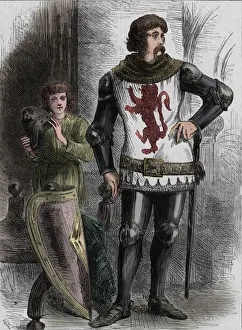
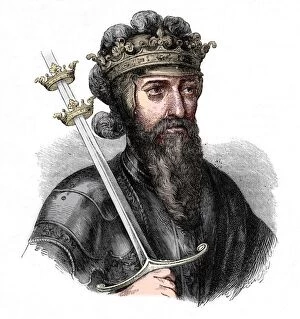
Edward III, c1880. Edward III (1312-1377), King of England. From British Battles on Land and Sea, Vol. III, by James Grant. [Cassell Petter & Galpin, London, Paris & New York, c1880]
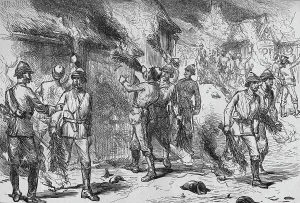
Burning of Coomassie, c1880. Episode of the Third Anglo-Ashanti War (1873-1874). From British Battles on Land and Sea, Vol. III, by James Grant
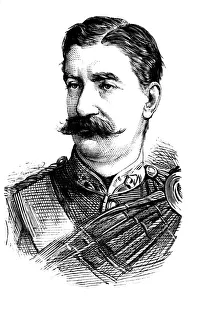
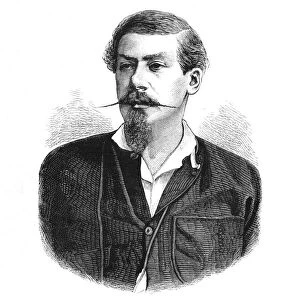
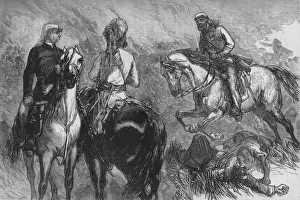
Captain Sartorius, c1880. Reginald William Sartorius (1841-1907), British Indian Army officer. From British Battles on Land and Sea, Vol. III, by James Grant
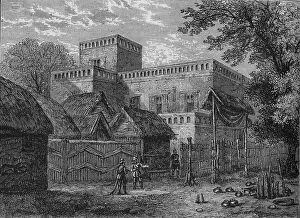
King Koffees Palace, c1880. Episode of the Third Anglo-Ashanti War (1873-1874). From British Battles on Land and Sea, Vol. III, by James Grant
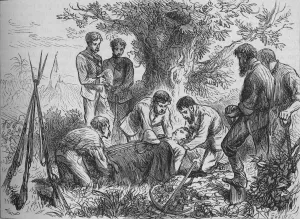
Funeral of Eyre, c1880. Artist: Joseph SwainFuneral of Eyre, c1880. Episode of the Third Anglo-Ashanti War (1873-1874). From British Battles on Land and Sea, Vol. III, by James Grant. [Cassell Petter & Galpin, London, Paris & New York, c1880]
Amoaful, c1880. Artist: W. PAmoaful, c1880. Episode of the Third Anglo-Ashanti War (1873-1874).From British Battles on Land and Sea, Vol. III, by James Grant. [Cassell Petter & Galpin, London, Paris & New York, c1880]
Advance of Highlanders, c1880. Artist: T. RAdvance of Highlanders, c1880. Episode of the Third Anglo-Ashanti War (1873-1874). From British Battles on Land and Sea, Vol. III, by James Grant
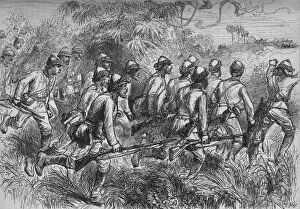
A Skirmish in the Forest, c1880. Episode of the Third Anglo-Ashanti War (1873-1874). From British Battles on Land and Sea, Vol. III, by James Grant
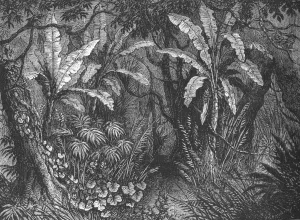
In the Bush, c1880. Artist: John GreenawayIn the Bush, c1880. Episode of the Third Anglo-Ashanti War (1873-1874). From British Battles on Land and Sea, Vol. III, by James Grant. [Cassell Petter & Galpin, London, Paris & New York, c1880]
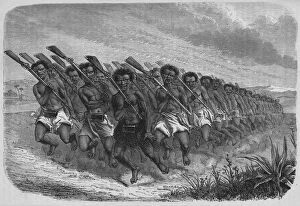
On the march from Elmina, c1880. Episode of the Third Anglo-Ashanti War (1873-1874). From British Battles on Land and Sea, Vol. III, by James Grant
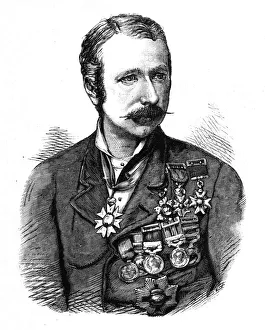
Sir Garnet Wolseley, c1880. Field Marshal Garnet Joseph Wolseley (1833-1913), Anglo-Irish officer. Episode of the Third Anglo-Ashanti War (1873-1874). From British Battles on Land and Sea, Vol
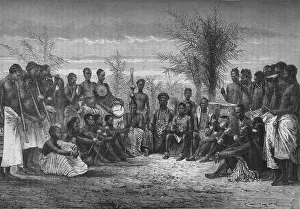
A Cape Coast King and his Court, c1880. Episode of the Third Anglo-Ashanti War (1873-1874). From British Battles on Land and Sea, Vol. III, by James Grant
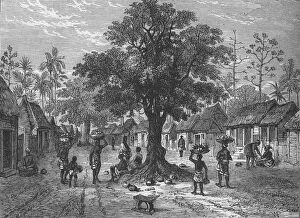
Village on the West Coast of Africa, c1880. Episode of the Third Anglo-Ashanti War (1873-1874). From British Battles on Land and Sea, Vol. III, by James Grant
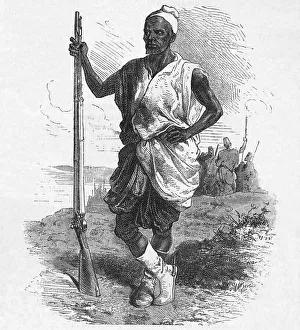
Warrior of Elmina, c1880. Episode of the Third Anglo-Ashanti War (1873-1874). From British Battles on Land and Sea, Vol. III, by James Grant. [Cassell Petter & Galpin, London, Paris & New York, c1880]
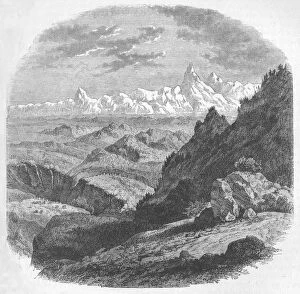
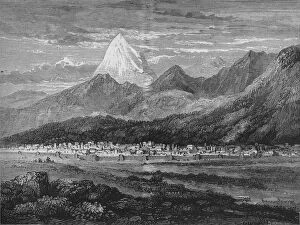
View of the Himalayan Range, c1880. Episode of the Bhutan War (1864-1865). From British Battles on Land and Sea, Vol. III, by James Grant. [Cassell Petter & Galpin, London, Paris & New York, c1880]
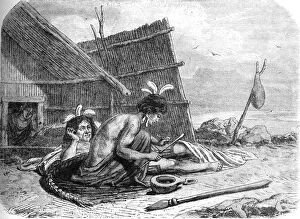
Tattooing a Maori Chief, c1880. Episode of the First Taranaki War (1860-1861). From British Battles on Land and Sea, Vol. III, by James Grant
New Zealand War-Dance, c1880. Episode of the First Taranaki War (1860-1861). From British Battles on Land and Sea, Vol. III, by James Grant. [Cassell Petter & Galpin, London, Paris & New York, c1880]
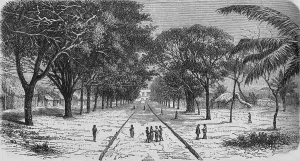
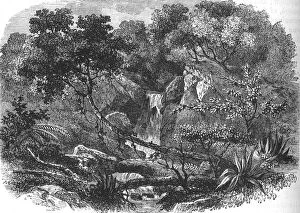
New Zealand Landscape, c1880. Episode of the First Taranaki War (1860-1861). From British Battles on Land and Sea, Vol. III, by James Grant. [Cassell Petter & Galpin, London, Paris & New York, c1880]
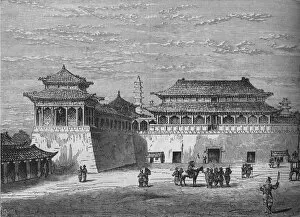
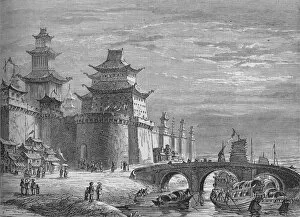
The Emperors Palace, Pekin, c1880. Episode of the Second Opium War (1856-1860). From British Battles on Land and Sea, Vol. III, by James Grant
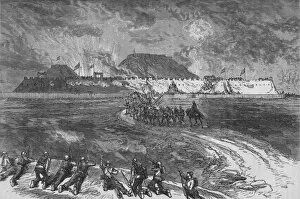
Storming the Takoo Forts, c1880. Episode of the Second Opium War (1856-1860). From British Battles on Land and Sea, Vol. III, by James Grant. [Cassell Petter & Galpin, London, Paris & New York, c1880]
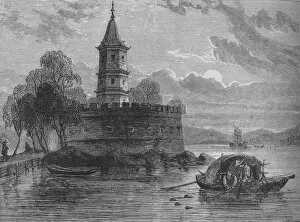
Fort on the Peiho River, c1880. Episode of the Second Opium War (1856-1860). From British Battles on Land and Sea, Vol. III, by James Grant. [Cassell Petter & Galpin, London, Paris & New York, c1880]
Western Gate, Pekin, c1880. Episode of the Second Opium War (1856-1860). From British Battles on Land and Sea, Vol. III, by James Grant. [Cassell Petter & Galpin, London, Paris & New York, c1880]
Fall of Lucknow, c1880. Episode of the Indian Rebellion (1857). From British Battles on Land and Sea, Vol. III, by James Grant. [Cassell Petter & Galpin, London, Paris & New York, c1880]
Captain Hope Johnstone Bringing News of the Capture, c1880. Episode of the Indian Rebellion (1857). From British Battles on Land and Sea, Vol. III, by James Grant
Teheran, c1880. Artist: Joseph SwainTeheran, c1880. Episode of the Indian Rebellion (1857). From British Battles on Land and Sea, Vol. III, by James Grant. [Cassell Petter & Galpin, London, Paris & New York, c1880]
Captain Peel, c1880. Sir William Peel (1824-1858), British naval officer. Episode of the Indian Rebellion (1857). From British Battles on Land and Sea, Vol. III, by James Grant
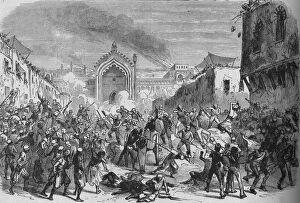
An Incident in the Mutiny at Allahabad, c1880. Artist: C. RAn Incident in the Mutiny at Allahabad, c1880. Episode of the Anglo-Persian War (1856-1857). From British Battles on Land and Sea, Vol. III, by James Grant