mail_outline sales@mediastorehouse.com
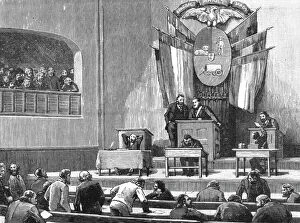
'Lord Randolph Churchill in South Africa: The Interior of the House of Commons, Pretoria, 1891. Creator: Unknown'Lord Randolph Churchill in South Africa: The Interior of the House of Commons, Pretoria, 1891. From "The Graphic. An Illustrated Weekly Newspaper", Volume 44. July to December, 1891
'The Main Street in Johannesburg, South Africa, 1891. Creator: R Barnes'The Main Street in Johannesburg, South Africa, 1891. From "The Graphic. An Illustrated Weekly Newspaper", Volume 44. July to December, 1891
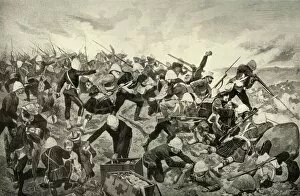
The Battle of Majuba Hill, 1900. Creator: Richard Caton Woodville IIThe Battle of Majuba Hill, 1900. From " South Africa and the Transvaal War, Vol. I", by Louis Creswicke. [T. C. & E. C. Jack, Edinburgh, 1900]
All That Was Left of Them. The Black Watch After the Battle of Magersfontein, 1900" All That Was Left of Them." The Black Watch After the Battle of Magersfontein, 1900. From " South Africa and the Transvaal War, Vol. II", by Louis Creswicke. [T. C. & E. C
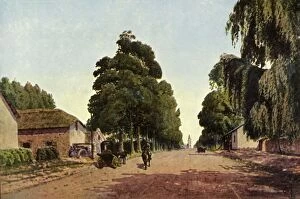
Church Street, Pretoria - The Approach to the Town, 1901. Creator: Donald E M CrackenChurch Street, Pretoria - The Approach to the Town, 1901. The town of Pretoria in the South African Republic, (now South Africa) during the period of the Boer Wars
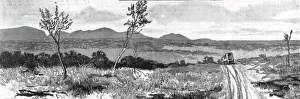
On the way to the Transvaal Gold Fields; Springbok Flats, Zoutspansberg, 1890. Creator: UnknownOn the way to the Transvaal Gold Fields; Springbok Flats, Zoutspansberg, 1890
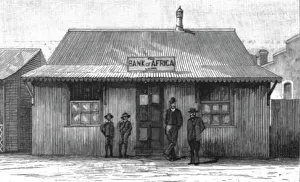
On the way to the Transvaal Gold Fields; The Bank of Africa, Johannesburg; as it was... 1887, 1890. Creator: UnknownOn the way to the Transvaal Gold Fields; The Bank of Africa, Johannesburg; as it was in 1887, 1887. 1890
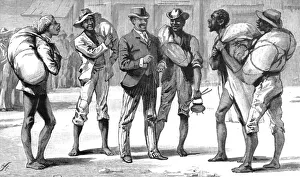
The Transvaal Gold Fields and how to reach them--Civilised and Uncivilised--An Illicit... 1890. Creator: UnknownThe Transvaal Gold Fields and how to reach them--Civilised and Uncivilised--An Illicit Diamond Buyer and his victims, 1890
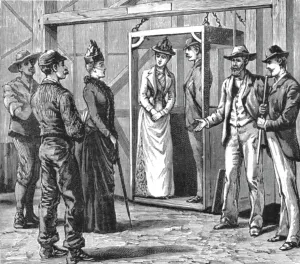
The Transvaal Gold Fields and how to reach them--Ladies visit to the Jumpers Gold Mining... 1890. Creator: UnknownThe Transvaal Gold Fields and how to reach them--Ladies visit to the Jumpers Gold Mining Company--Going down in the cage, 1890
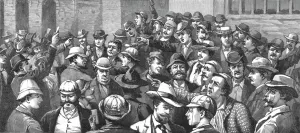
The Transvaal Gold Fields and how to reach them--Scene in the Open-Air Change, Johanne... 1890. Creator: UnknownThe Transvaal Gold Fields and how to reach them--Scene in the Open-Air Change, Johannesburg, 1890
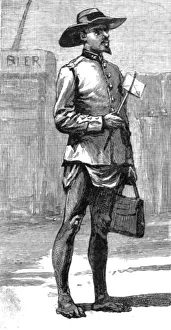
The Transvaal Gold Fields and how to reach them--The Marabastad Post Arrives, 1890. Creator: UnknownThe Transvaal Gold Fields and how to reach them--The Marabastad Post Arrives, 1890
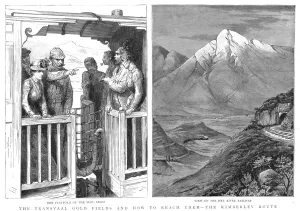
The Transvaal Gold Fields and how to reach them--The Kimberly Route, 1890. Creator: UnknownThe Transvaal Gold Fields and how to reach them--The Kimberly Route, 1890
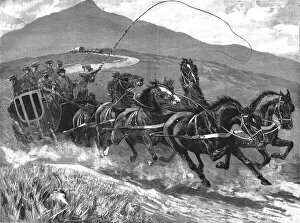
The Transvaal Goldfields and how to reach them--by Coach, Eight in Hand, 1890. Creator: UnknownThe Transvaal Goldfields and how to reach them--by Coach, Eight in Hand, 1890
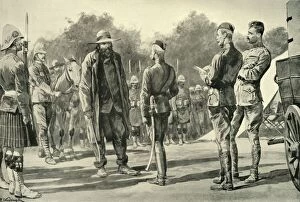
Majuba Day - Cronje Surrenders to Lord Roberts at Paardeberg, 1900" Majuba Day" - Cronje Surrenders to Lord Roberts at Paardeberg", 1900. The surrender of Piet Cronje to the British after the Battle of Paardeberg on 27 February 1900 - previously a
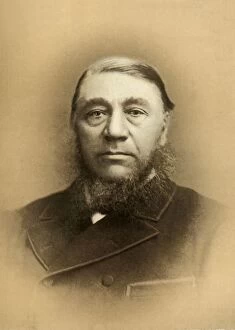
General Cronje, 1900. Creator: M PlumbeGeneral Cronje, 1900. Piet Cronje (1836-1911) general of the South African Republics military forces during the Anglo-Boer wars of 1880-1881 and 1899-1902
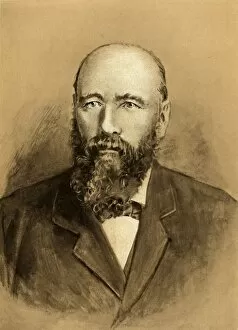
Paul Kruger, President of the Transvaal Republic, 1900. Creator: Elliot & FryPaul Kruger, President of the Transvaal Republic, 1900. From " South Africa and the Transvaal War, Vol. I", by Louis Creswicke. [T. C. & E. C. Jack, Edinburgh, 1900]
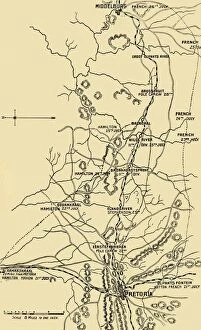
Map Illustrating the Eastward Move from Eerstefabrieken to Middelburg, 1901. Creator: UnknownMap Illustrating the Eastward Move from Eerstefabrieken to Middelburg, 1901. The Second Boer War (1899-1902) was fought between the British Empire and two Boer states
President Kruger, c1900. Creator: UnknownPresident Kruger, c1900. Paul Kruger (1825-1904) was a dominant political and military figurs in 19th-century South Africa. From " South Africa in Peace and War" edited by C. Lang Neil
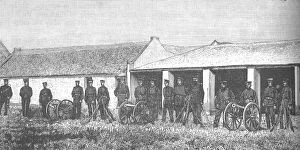
The Artillery of the South African Republic, c1880s. Episode of the First Boer War, (1880-1881). From British Battles on Land and Sea, Vol. IV, by James Grant
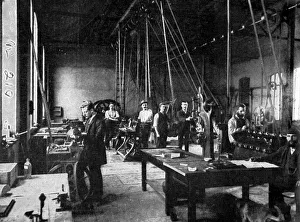
The Pretoria mint before it was taken over by the British, Transvaal, South Africa, 1900. The capital of the South African Republic (Transvaal) during the Boer War
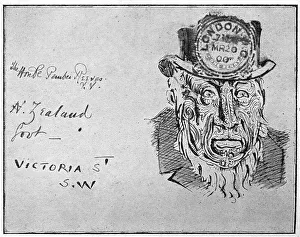
Cartoon depicting Boer leader Paul Kruger as a Maori, 1900. Kruger was President of the South African Republic (Transvaal)
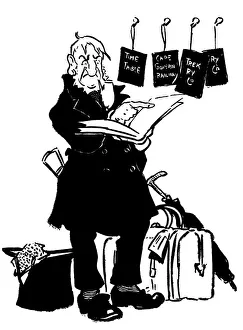
Oom Paul Consulting the Time Table, 1900. Satirical cartoon showing Boer leader Paul Kruger, President of the South African Republic (Transvaal)
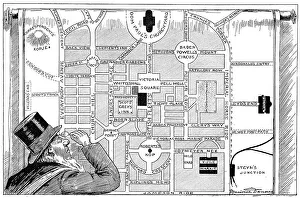
President Kruger looking at a plan of the New Pretoria, 1900. Satirical cartoon showing Boer leader Paul Kruger, President of the South African Republic (Transvaal)