mail_outline sales@mediastorehouse.com
AI IMAGE - Portrait of Prince Philip, Duke of Edinburgh, 2000s, (2023). Creator: Heritage ImagesAI IMAGE - Portrait of Prince Philip, Duke of Edinburgh, 2000s, (2023). Prince Philip (1921-2021) was the husband of Queen Elizabeth II
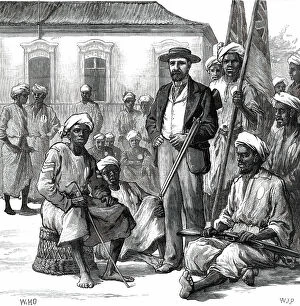
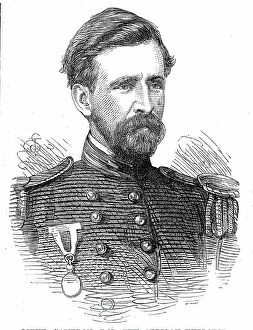
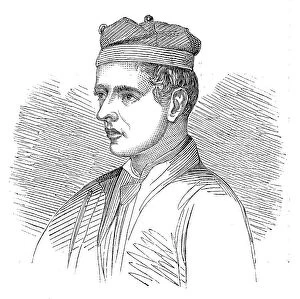
Lieutenant Cameron and some of his African followers, 1876. Creator: W. J. PLieutenant Cameron and some of his African followers, 1876. Portrait of Verney Lovett Cameron, a...brave and clever young naval officer
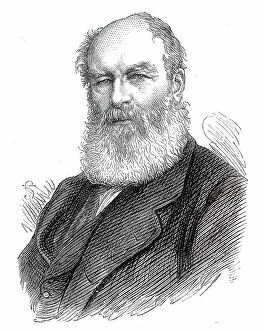
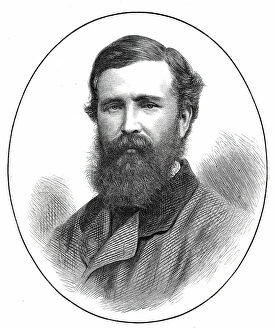
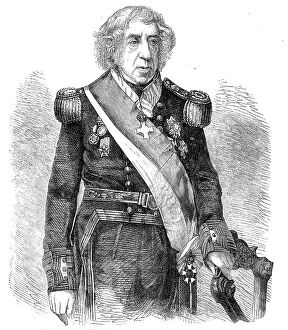
The late Admiral Sir Baldwin Walker, 1876. Creator: UnknownThe late Admiral Sir Baldwin Walker, 1876. Engraving from a photograph by Messrs. Maull and Co. Walker...entered the Navy in 1812 [aged 10]...and continued in the active service of his own country
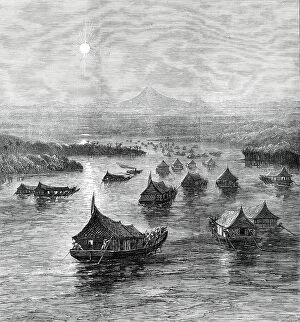
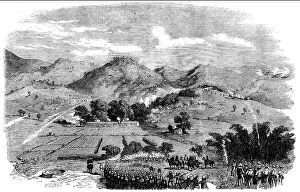
The Expedition against the Malays: the British Force ascending the Perak River, 1876. Creator: J GreenawayThe Expedition against the Malays: the British Force ascending the Perak River, 1876. Episode from the Perak War:..the joint military and naval forces, under command of Major-General Colborne, C.B
Lieut. Cameron, R.N. the African Explorer, 1876. Creator: UnknownLieut. Cameron, R.N. the African Explorer, 1876. Lieutenant Verney Lovett Cameron entered the Royal Navy in August, 1857, being the first boy under fourteen years of age who passed the examination
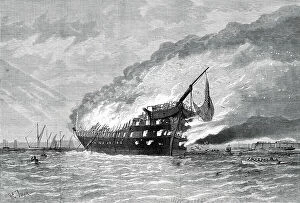
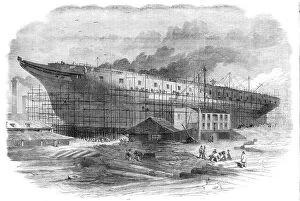
Burning of the training-ship Goliath, 1876. Creator: H. E. TozerBurning of the training-ship Goliath, 1876. The Goliath was a vessel of the Royal Navy, lent by the Admiralty to the Forest-gate district board of managers for the training of pauper boys [from
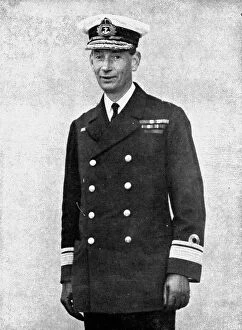
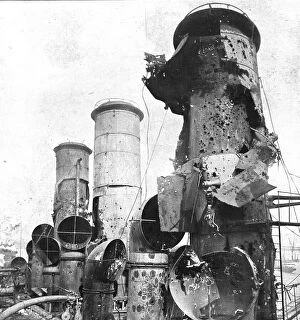
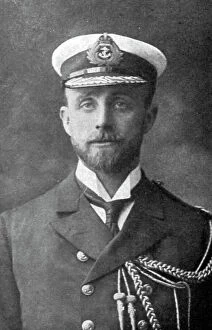
L'attaque navale de Zeebrugge et Ostende; Apres Zeebrugge, Le vice-amiral Roger Keyes... 1918. Creator: UnknownL'attaque navale de Zeebrugge et Ostende; Apres Zeebrugge, Le vice-amiral Roger Keyes, qui dirigeait l'expedition, 1918
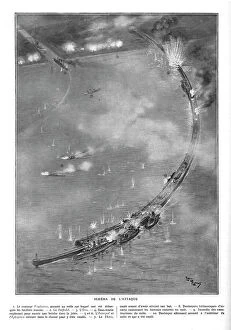
L'attaque navale de Zeebrugge et Ostende; A Zeebrugge: Schema de l'attaque, 1918. Creator: UnknownL'attaque navale de Zeebrugge et Ostende; A Zeebrugge: Schema de l'attaque, 1918. From "L'Album de la Guerre 1914-1919, Volume 2" [L'Illustration, Paris, 1924]
The Cherbourg Fetes - the "Pera" with Members of the House of Commons, leaving Southampton, 1858. British politicians travel to France
Lieutenant V. H. Cameron, R.N. 1876. Creator: UnknownLieutenant V. H. Cameron, R.N. 1876. Engraving of a photograph by Maull and Co. Lieutenant Verney Lovett Cameron entered the Royal Navy in August, 1857
Building the great steam-frigate "Warrior" at the Thames Ironworks, Blackwall, 1860. Creator: SmythBuilding the great steam-frigate "Warrior" at the Thames Ironworks, Blackwall, 1860. Admiral Sir Baldwin Wake Walker, Surveyor of the Navy
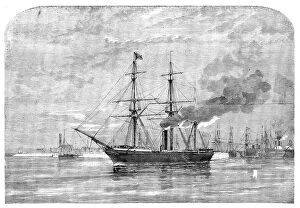
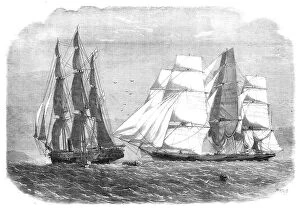
The slaver "Sunny South", alias "Emanuela" surrendering to H.M.S. "Brisk", bearing the flag of Rear-Admiral Sir H
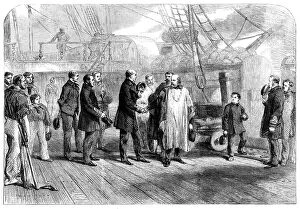
Farewell visit of Garibaldi to Admiral Mundy on board the "Hannibal" at Naples, 1860. Creator: W. L. ThomasFarewell visit of Garibaldi to Admiral Mundy on board the "Hannibal" at Naples, 1860. The Liberator of the Two Sicilies left Naples for his island home, Caprera
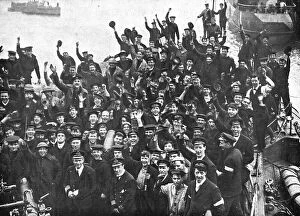
L'attaque navale de Zeebrugge et Ostende; Apres Zeebrugge, le retour triomphal du... 1918. Creator: UnknownL'attaque navale de Zeebrugge et Ostende; Apres Zeebrugge, le retour triomphal du "Vindictive" a Douvres: l'equipage pousse des hourras, 1918
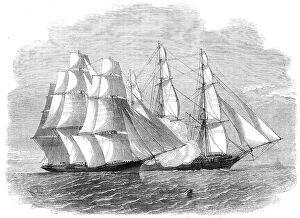
H.M.S. "Brisk", bearing the flag of Rear-Admiral Sir Henry Keppel, closing with "The Sunny... 1860H.M.S. "Brisk", bearing the flag of Rear-Admiral Sir Henry Keppel, closing with "The Sunny South" slaver, 1860....her Majesty's ship Brisk
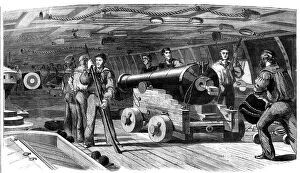
Gun practice on board H.M.S. "Brilliant", 1860. Creator: Unknown. Gun practice on board H.M.SGun practice on board H.M.S. "Brilliant", 1860. British seamen in the Naval Reserve: scene showing...a gun's crew at lever target-practice - in the act of laying the gun for
Peter Cunningham, of the English Battalion, 1860. Creator: UnknownPeter Cunningham, of the English Battalion, 1860. British military fighting in Italy, as part of a...battalion composed of North Italians
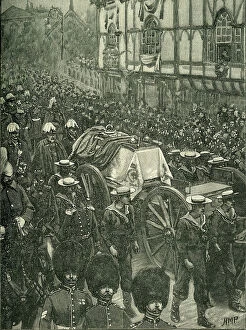
The Queen's Funeral: Windsor: The Last Stage, c1900. Creator: H.M.PThe Queen's Funeral: Windsor: The Last Stage, 1901. Crowds turn out to see the coffin of Queen Victoria who reigned for 63 years. She was buried in the Royal Mausoleum, Frogmore, Windsor
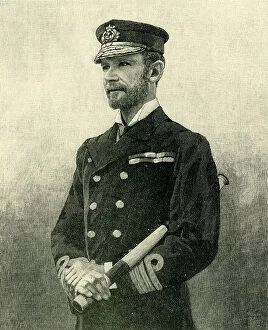
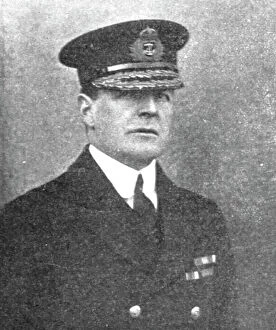
Admiral Seymour, c1900. Creator: UnknownAdmiral Seymour, c1900. Portrait of British Royal Navy officer Edward Hobart Seymour; served in the Black Sea during the Crimean War
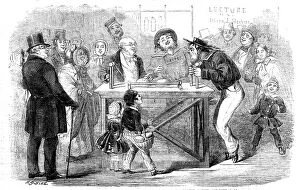
Christmas Holidays at the Polytechnic: the Electric Machine - drawn by H. G. Hine, 1858. Creator: M. JacksonChristmas Holidays at the Polytechnic: the Electric Machine - drawn by H. G. Hine, 1858. You must see the children, too, at the Polytechnic - as our Artist has seen them - if you would fully
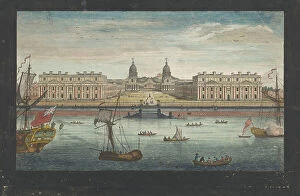
View of Greenwich Hospital on the River Thames at Greenwich, 1751. Creator: John JuneView of Greenwich Hospital on the River Thames at Greenwich, 1751
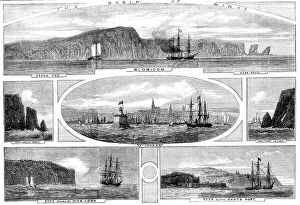
The Basin of Minas - Progress of the Prince of Wales in British North America... 1860. Creator: UnknownThe Basin of Minas - Progress of the Prince of Wales in British North America - views illustrating the passage of H.M.S. "Styx", having his Royal Highness on board, from Handsport to St
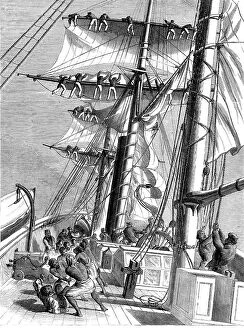
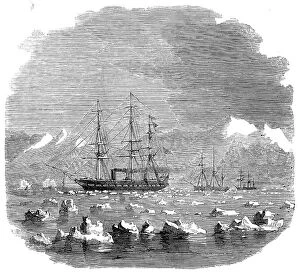
The Livingstone Expedition in Africa - H.M.S. "Lynx"... 1860. Creator: UnknownThe Livingstone Expedition in Africa - H.M.S. "Lynx", sent for the relief of the Expedition, taking in sail during a squall, 1860. Engraving from a sketch by...T. Baines, Esq
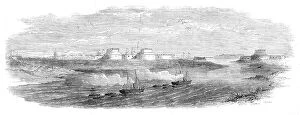
The War in China - the forts at the mouth of the Pehtang River, 1860. Creator: UnknownThe War in China - the forts at the mouth of the Pehtang River, 1860. British forces in the far east. The plan of operations decided upon was to land at the Pehtang River
The War in China - the "Havoc" gun-boat, with Fane's Horse on board, on its way from Talien-Wan to the Pehtang - from a sketch by our special artist, C. Wirgman, 1860
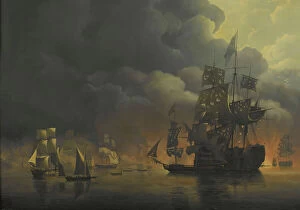
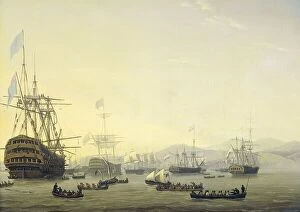
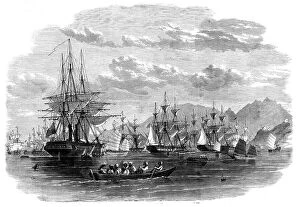
The Anglo-Dutch Fleet under Lord Exmouth and Vice Admiral Jonkheer Theodorus Frederik van Capellen p CreatorThe Anglo-Dutch Fleet under Lord Exmouth and Vice Admiral Jonkheer Theodorus Frederik van Capellen putting out the Algerian Strongholds, 27 August 1816, 1818
Council of War on board the Queen Charlotte, commanded by Lord Exmouth, prior to the Bombardment o CreatorCouncil of War on board the Queen Charlotte, commanded by Lord Exmouth, prior to the Bombardment of Algiers, 26 August 1816, 1818
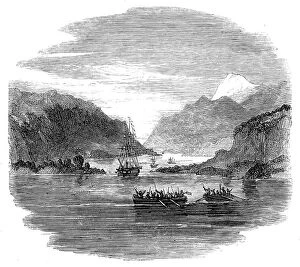
H.M.S. "Termagant" convoying the gun-boats "Grappler" and "Forward" through the Straits of Magellan: passing English Narrows - from a sketch by C. Royle, R.N. 1860
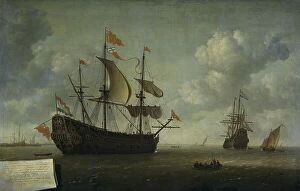
The Arrival of the Royal Charles, 1667. Creator: Jeronymus van DiestThe Arrival of the Royal Charles, 1667. Other Title(s): The Arrival of the English Flagship Royal Charles at Hellevoetsluis, Captured during the Dutch Raid on the Medway, June 1667
The late Early of Dundonald - from a photograph by Maull and Polyblank, 1860. Creator: UnknownThe late Early of Dundonald - from a photograph by Maull and Polyblank, 1860. In 1809, Lord Cochrane was selected by the First Lord of the Admiralty, on account of his daring valour
H.M.S. "Termagant" convoying the gun-boats "Grappler" and "Forward" through the Straits of Magellan: steaming through the ice in Wide Channel - from a sketch by C
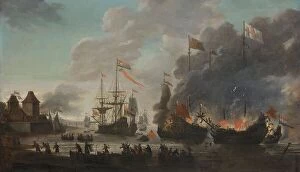
The Dutch Burning English Ships during the Dutch Raid on the Medway, 20 June 1667, 1667-1669. Creator: Jan van LeydenThe Dutch Burning English Ships during the Dutch Raid on the Medway, 20 June 1667, 1667-1669
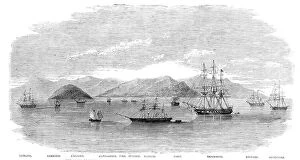
The Combined Fleet in China - transports in Cowloong Bay preparing to get under way for... 1860. Creator: UnknownThe Combined Fleet in China - transports in Cowloong Bay preparing to get under way for the north - from a sketch by our special artist at Hong-Kong, 1860. British warships at anchor
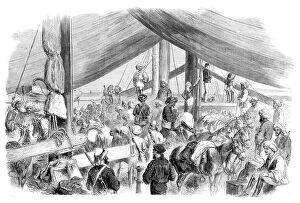
The War in China - departure from Hockly Pier, Odin Bay, of the Sikh Cavalry and troops... 1860. Creator: UnknownThe War in China - departure from Hockly Pier, Odin Bay, of the Sikh Cavalry and troops for the Peiho, 1860. Our Artist writes: [July 23]: "I am writing under difficulties
The Fleet in China under Admiral Jones assembled off Kintang prior to the occupation of Chusan, 1860 Creator: UnknownThe Fleet in China under Admiral Jones assembled off Kintang prior to the occupation of Chusan, 1860. Engraving from a sketch by Lieut. H. E. Sturt, on board the Imperieuse
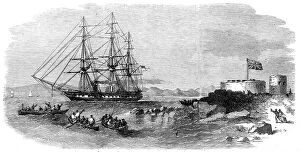
H.M.S. "Euryalus", with Prince Alfred on board, entering Simon's Bay, 1860. Creator: Unknown. H.M.SH.M.S. "Euryalus", with Prince Alfred on board, entering Simon's Bay, 1860. Queen Victoria's son, Alfred, Duke of Saxe-Coburg and Gotha, became a naval cadet at the age of 14
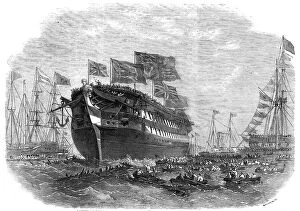
Launch of the screw line-of-battle ship "Anson" at Woolwich, 1860. Creator: SmythLaunch of the screw line-of-battle ship "Anson" at Woolwich, 1860. Royal Navy ship launched...in the presence of at least 5000 spectators...The band of the Woolwich division of Royal Marine
L'attaque navale de Zeebrugge et Ostende; Le 23 avril 1918, au matin, un raid naval... 1918. Creator: UnknownL'attaque navale de Zeebrugge et Ostende; Le 23 avril 1918, au matin, un raid naval d'une rare audace etait execute sur le cote flamande, contre Zeebrugge et Ostende
Attack on the "Braves" near the White Cloud Mountain, Canton - sketched by our special... 1858Attack on the "Braves" near the White Cloud Mountain, Canton - sketched by our special artist and correspondent, 1858. British forces attack in China
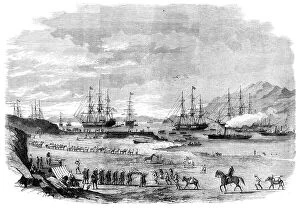
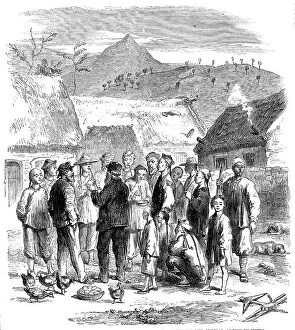
Purchasing eggs and fowls of the natives - from a sketch by our special artist in China, 1860. Creator: UnknownChina - the British Forces in Talien-Wan - Purchasing eggs and fowls of the natives - from a sketch by our special artist in China, 1860
Au fort de la bataille Jutland ; Le contre-amiral sir Robert Keith Arbuthnot, qui perit... 1916. Creator: UnknownAu fort de la bataille Jutland ; Le contre-amiral sir Robert Keith Arbuthnot, qui perit avec le "Defence", battant son pavillon, 1916. From "Collection de la Guerre IV
Le contre-amiral Horace Hood, qui perit avec "l'Invincible", battant son pavillon, 1916. From "Collection de la Guerre IV. L'Illustration Tome CXLVII
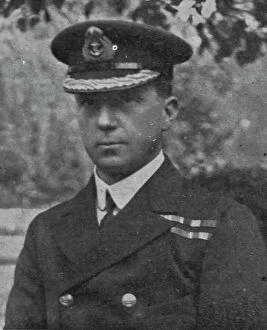
Le vice-amiral sir David Beatty, commandant l'escadre des croiseurs de bataille britann... 1916. Creator: UnknownLe vice-amiral sir David Beatty, commandant l'escadre des croiseurs de bataille britanniques, 1916. From "Collection de la Guerre IV. L'Illustration Tome CXLVII
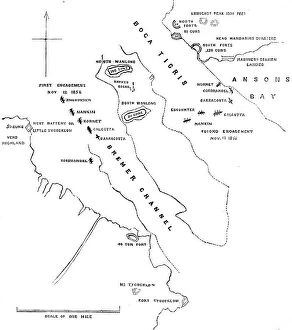
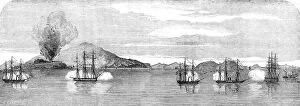
Plan of the Attack on the Forts and Batteries of Canton, Nov.12 and 13, 1856, (1857). Creator: UnknownPlan of the Attack on the Forts and Batteries of Canton, Nov.12 and 13, 1856, (1857). British naval officer:..we have had a job to take some forts called the Bocca Tigris
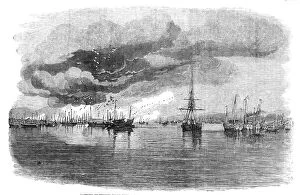
Capture of Bocca Tigris Forts by the English Squadron - the Attack on North and South Wantung, 1857The War with China - Capture of Bocca Tigris Forts by the English Squadron - the Attack on North and South Wantung, 1857. Encounter, North Wantung, Nankin, South Aminghoy, Hornet, South Wantung
Capture of French Folly Fort - Termination of the Action, and Blowing-up of Junks, 1857. Creator: UnknownThe War with China - Capture of French Folly Fort - Termination of the Action, and Blowing-up of Junks, 1857. French Folly is still in the hands of the Chinese