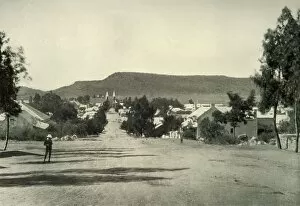
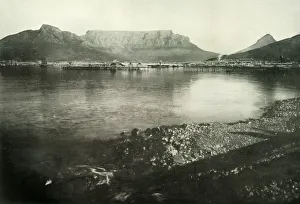
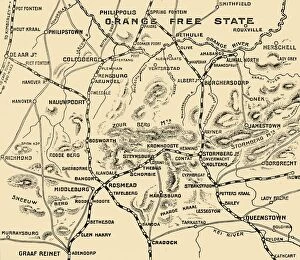
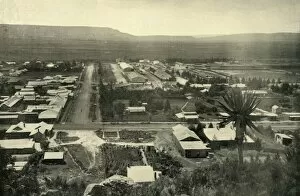
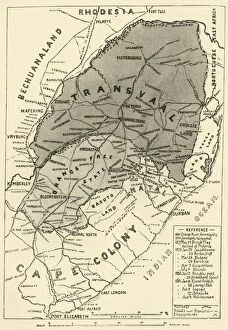
Cape Town, Devils Peak, Table Mountain, and Lions Head from Table Bay, 1900. Creator
Cape Town, Devils Peak, Table Mountain, and Lions Head from Table Bay, 1900. From " South Africa and the Transvaal War, Vol. I", by Louis Creswicke. [T. C. & E. C. Jack, Edinburgh, 1900]