Buddhism Collection (page 9)
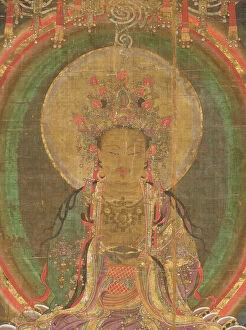
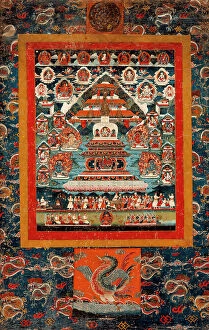

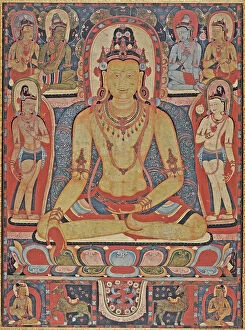

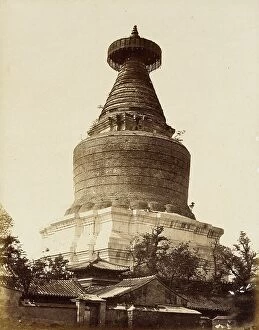
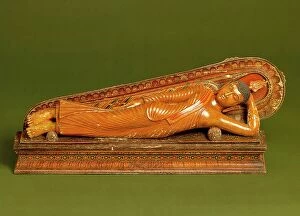
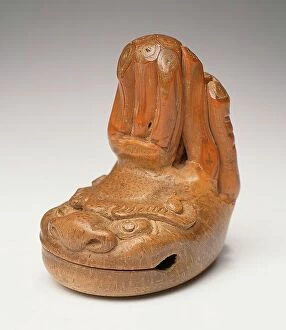
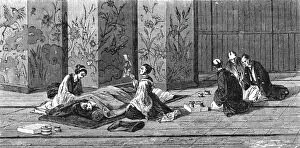
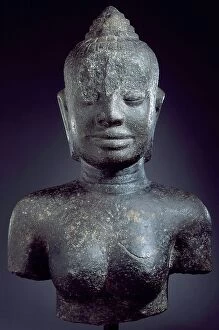
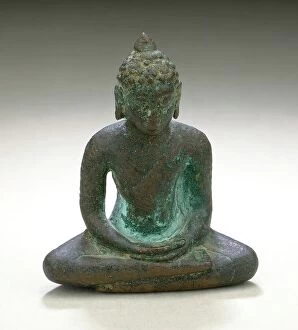
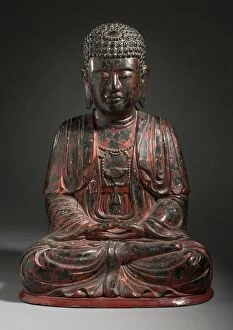
Buddha Shakyamuni Reclining, 18th century. Creator: Unknown
Buddha Shakyamuni Reclining, 18th century
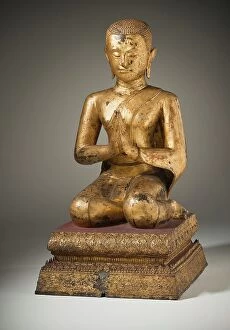
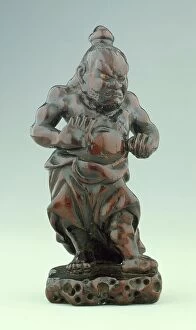
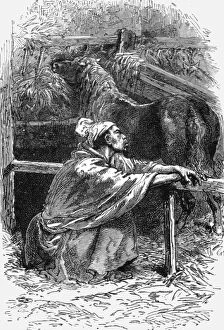
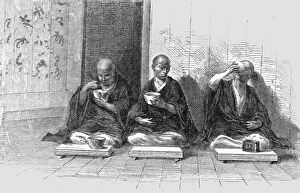
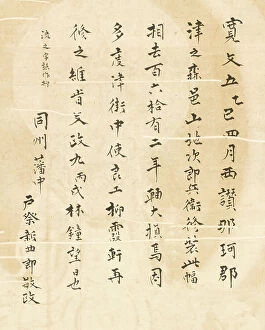
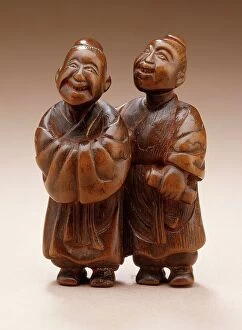
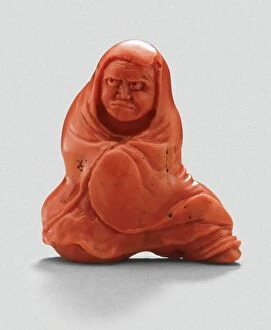
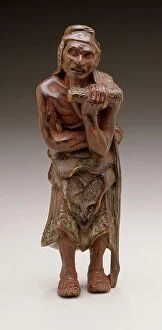
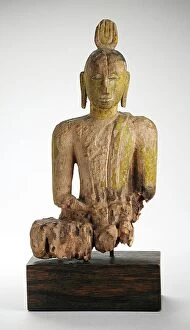
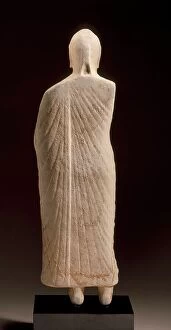
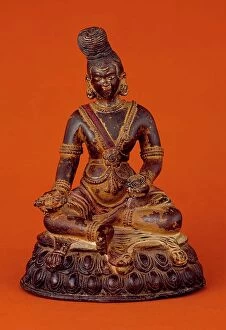
Monk Devotee (image 1 of 2), 19th century. Creator: Unknown
Monk Devotee (image 1 of 2), 19th century
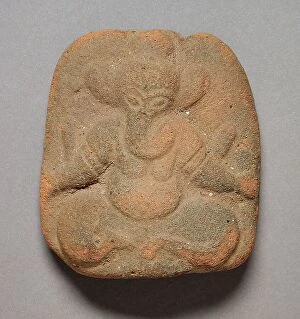
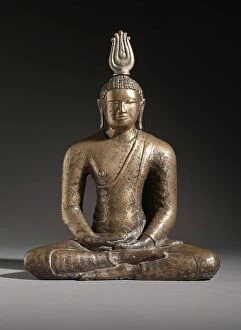
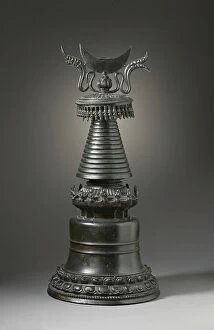
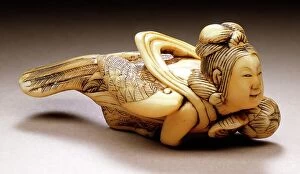
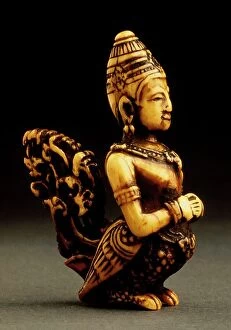
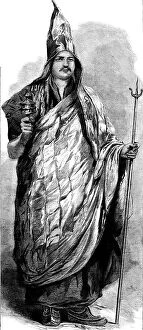
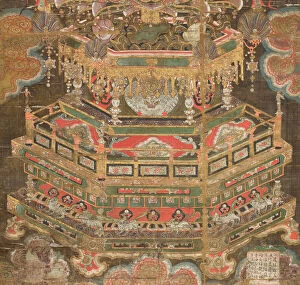
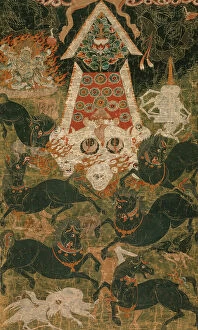
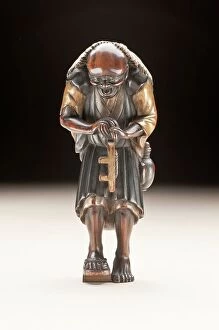
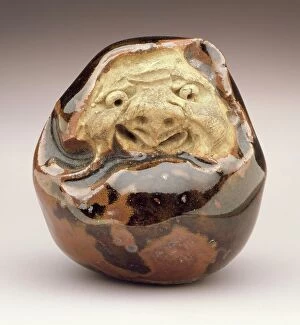
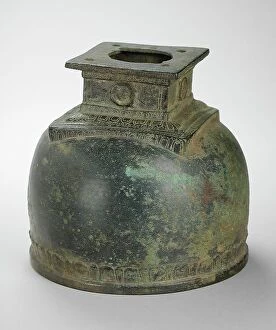
Heavenly Spirit: Karyobinga, 18th century. Creator: Unknown
Heavenly Spirit: Karyobinga, 18th century