mail_outline sales@mediastorehouse.com
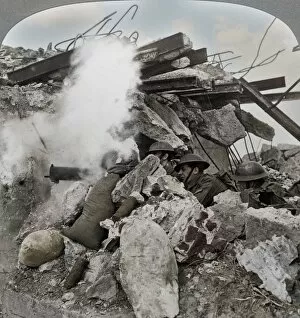
Machine gun nest, Poelcappelle, Belgium, World War I, 1914-1918. Artist: Realistic Travels PublishersMachine gun nest, Poelcappelle, Belgium, World War I, 1914-1918. Poelcappelle was the site of a battle during the larger Battle of Passchendaele (Third Battle of Ypres) in 1917
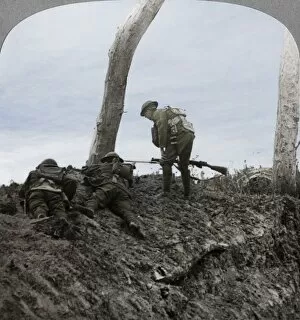
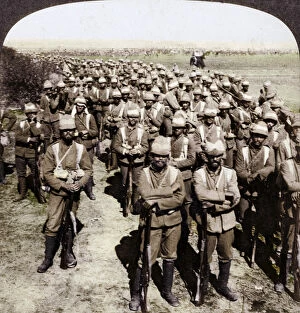
Battle of Polygon Wood, near Ypres, Flanders, Belgium, World War I, September 1917. British North Country troops attacking a German lair
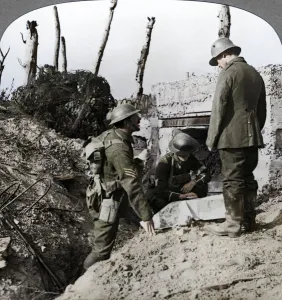
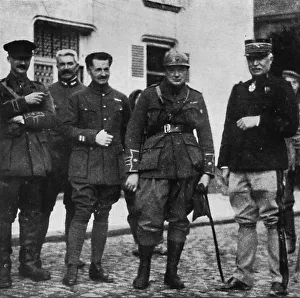
Captured German blockhouse, Poelecappelle, Belgium, World War I, 1914-1918. Artist: Realistic Travels PublishersCaptured German blockhouse, Poelecappelle, Belgium, World War I, 1914-1918. The Battle of Poelcappelle was part of the larger Battle of Passchendaele (Third Battle of Ypres)
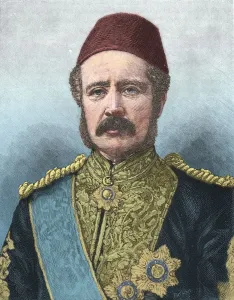
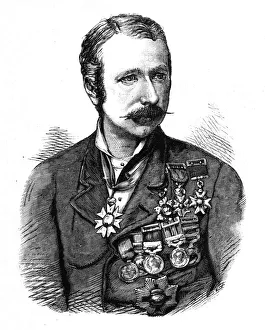
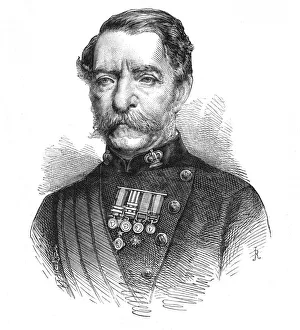
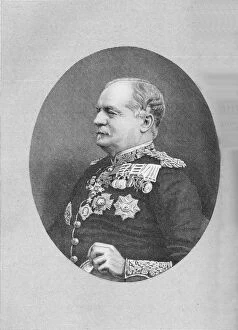
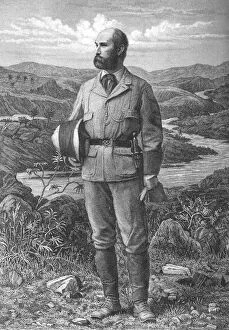
General Gordon, c1885. Charles George Gordon, (1833-1885), British Army officer. After a photograph by Adams & Scanlan. From British Battles on Land and Sea, Vol. IV, by James Grant
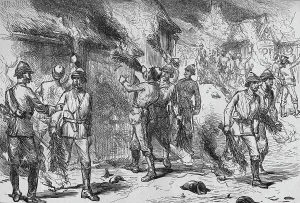
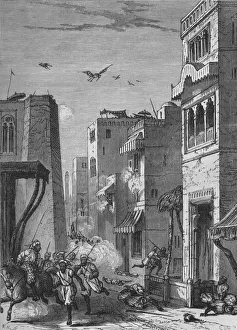
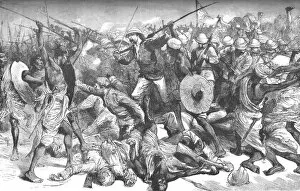
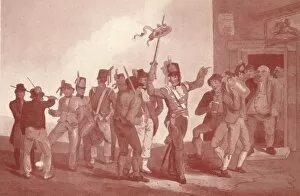
Burning of Coomassie, c1880. Episode of the Third Anglo-Ashanti War (1873-1874). From British Battles on Land and Sea, Vol. III, by James Grant
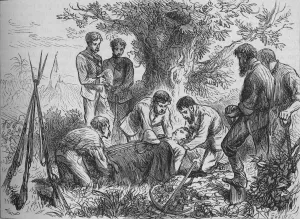
Funeral of Eyre, c1880. Artist: Joseph SwainFuneral of Eyre, c1880. Episode of the Third Anglo-Ashanti War (1873-1874). From British Battles on Land and Sea, Vol. III, by James Grant. [Cassell Petter & Galpin, London, Paris & New York, c1880]
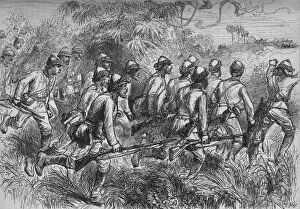
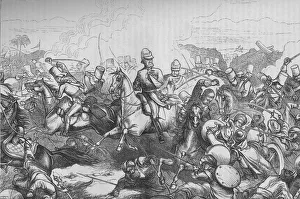
Advance of Highlanders, c1880. Artist: T. RAdvance of Highlanders, c1880. Episode of the Third Anglo-Ashanti War (1873-1874). From British Battles on Land and Sea, Vol. III, by James Grant
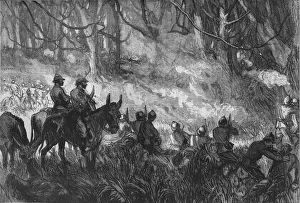
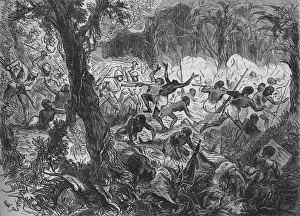
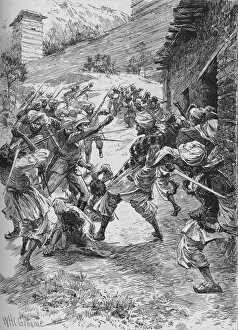
A Skirmish in the Forest, c1880. Episode of the Third Anglo-Ashanti War (1873-1874). From British Battles on Land and Sea, Vol. III, by James Grant
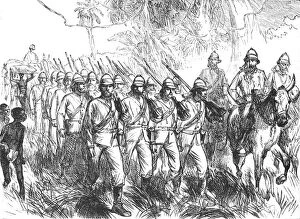
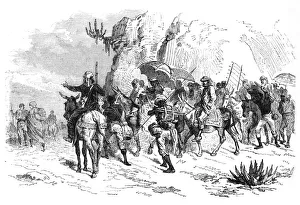
On the march from Elmina, c1880. Episode of the Third Anglo-Ashanti War (1873-1874). From British Battles on Land and Sea, Vol. III, by James Grant
Sir Garnet Wolseley, c1880. Field Marshal Garnet Joseph Wolseley (1833-1913), Anglo-Irish officer. Episode of the Third Anglo-Ashanti War (1873-1874). From British Battles on Land and Sea, Vol
The Battle of Goojerat, c1880. Episode of the Second Anglo-Sikh War (1848-1849). From British Battles on Land and Sea, Vol. III, by James Grant
The British Troops Entering Moultan, c1880. Episode of the Second Anglo-Sikh War (1848-1849). From British Battles on Land and Sea, Vol. III, by James Grant
Sir John Burgoyne, c1880. Sir John Fox Burgoyne, 1st Baronet (1782-1871), British Army officer. From British Battles on Land and Sea, Vol. III, by James Grant
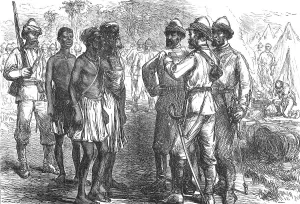
Reception of King Koffees Ambassadors in the English Camp, c1880. Episode of the Third Anglo-Ashanti War (1873-1874). From British Battles on Land and Sea, Vol. III, by James Grant
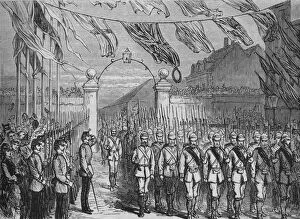
The Return of the Troops from Ashantee, c1880. Episode of the Third Anglo-Ashanti War (1873-1874). From British Battles on Land and Sea, Vol. III, by James Grant
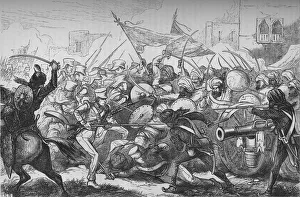
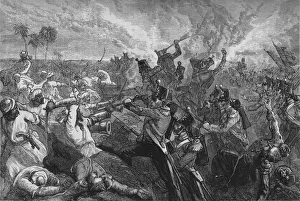
Fight at Abracrampa, 1880. Artist: Joseph SwainFight at Abracrampa, c1880. Episode of the Third Anglo-Ashanti War (1873-1874). From British Battles on Land and Sea, Vol. III, by James Grant
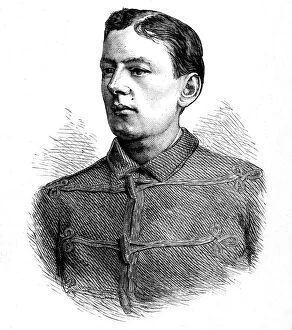
Lord Gifford, 1880Lord Gifford, c1880. Episode of the Third Anglo-Ashanti War (1873-1874). From British Battles on Land and Sea, Vol. III, by James Grant. [Cassell Petter & Galpin, London, Paris & New York, c1880]
Return of the Abyssinian Captives, c1880. Episode of the British Expedition to Abyssinia (1867-1868). From British Battles on Land and Sea, Vol. III, by James Grant
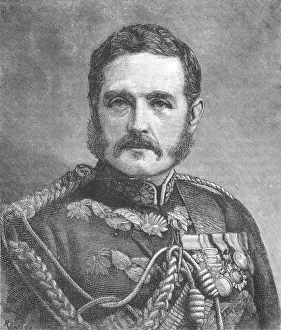
Sir Robert Napier, c1880. Robert Cornelius Napier, 1st Baron Napier of Magdala (1810-1890), Indian Army officer. Episode of the British Expedition to Abyssinia (1867-1868)
Thackwell at Sobraon, c1880. Artist: T. S. SThackwell at Sobraon, c1880. Episode of the First Anglo-Sikh War (1845-1846). From British Battles on Land and Sea, Vol. III, by James Grant. [Cassell Petter & Galpin, London, Paris & New York, c1880]
Battle of Ferozeshah, c1880. Episode of the First Anglo-Sikh War (1845-1846). From British Battles on Land and Sea, Vol. III, by James Grant. [Cassell Petter & Galpin, London, Paris & New York, c1880]
The British Army Crossing the Sutlej, c1880. Artist: Joseph SwainThe British Army Crossing the Sutlej, c1880. Episode of the First Anglo-Sikh War (1845-1846). From British Battles on Land and Sea, Vol. III, by James Grant
Fighting throught the night at Mory, France, World War I, c1914-c1918. Artist: Realistic Travels PublishersFighting throught the night at Mory, France, World War I, c1914-c1918. From a box set of stereoscopic cards titled The Great War. (Colorised black and white print)
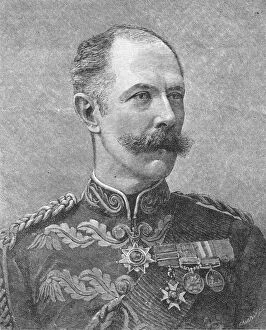
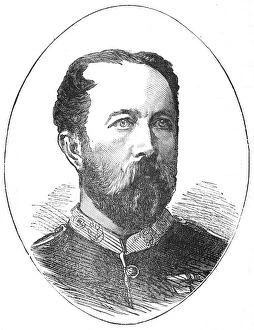
Sir Herbert Macpherson, c1882. Sir Herbert Taylor MacPherson, (1827-1886), British Army officer. After a photograph by A. E. Fradelle. From British Battles on Land and Sea, Vol. IV, by James Grant
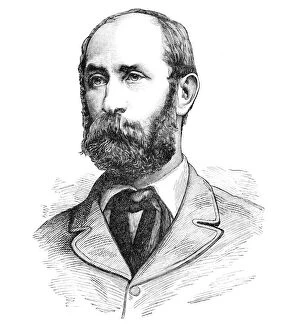
General Earle, c1885. William Earle, (1833-1885), British Army officer. After a photograph by Bourne & Shepherd. From British Battles on Land and Sea, Vol. IV, by James Grant
Death of Colonel Burnaby, c1885. Colonel Frederick Gustavus Burnaby, (3 March 1842 - 17 January 1885) was a British Army intelligence officer. Episode of the Mahdist War (1881-1899)
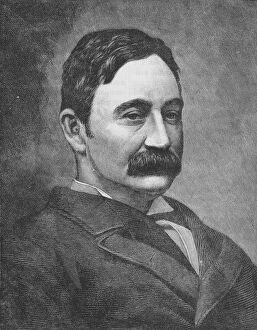
Colonel Fred Burnaby, c1881-85. Frederick Gustavus Burnaby, (1842-1885), British Army officer. After a photograph by Robert White Thrupp (1821-1907). From British Battles on Land and Sea, Vol
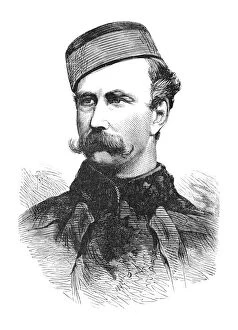
General Sir Herbert Stewart, c1881-85, . Sir Herbert Stewart, (1843-1885), British Army officer. After a photograph by Chancellor. From British Battles on Land and Sea, Vol. IV, by James Grant
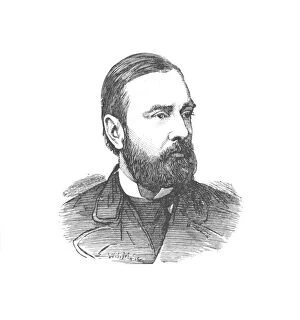
Sir Redvers Buller, c1881-85. Sir Redvers Henry Buller, (1839-1908), British Army officer. After a photograph by Elliott & Fry. From British Battles on Land and Sea, Vol. IV, by James Grant
General Sir Gerald Graham, c1881-85. General Sir Gerald Graham (1831-1899), British Army officer. From British Battles on Land and Sea, Vol. IV, by James Grant
Sir George Colley, c1882-85Sir George Colley, c1880. Sir George Pomeroy Colley, (1835 -1881), British Army officer. After a photograph by Maull & Fox. From British Battles on Land and Sea, Vol. IV, by James Grant
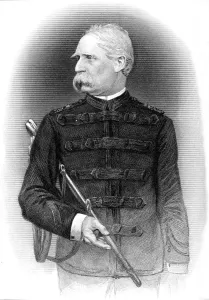
Sir Evelyn Wood, c1882-85. Sir Henry Evelyn Wood, (1838-1919), British Army officer. After a photograph by A. E. Fradelle. From British Battles on Land and Sea, Vol. IV, by James Grant
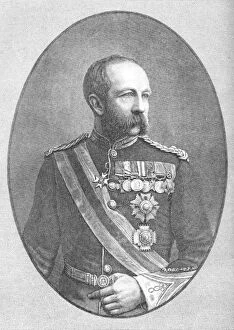
Sir Donald Stewart, c1880s. Sir Donald Martin Stewart, 1st Baronet, (1824-1900), British Army officer. After a photograph by C. G. Brown. From British Battles on Land and Sea, Vol
Sir George Pomeroy Colley, c1880. Sir George Pomeroy Colley (1835-1881), British Army officer. From a photograph by Henry Maull (1829-1914) & John Fox (1832-1907)
General Gordon, c1880. Artist: Adams and ScanlanGeneral Gordon, c1880. Major General Charles George Gordon, (1833-1885), British Army officer. Episode of the Anglo-Zulu Wars (1879-1896). From British Battles on Land and Sea, Vol
Major Marter, c1880. Episode of the Anglo-Zulu Wars (1879-1896). From British Battles on Land and Sea, Vol. IV, by James Grant. [Cassell Petter & Galpin, London, Paris & Melbourne, c1880]
Colonel Goodenough, Commanding the Royal Artillery, c1882. Sir William Howley Goodenough (1833-1898), British Army officer. From British Battles on Land and Sea, Vol. IV, by James Grant
Sir Evelyn Wood, c1880. Field Marshal Sir Henry Evelyn Wood (1838-1919), British Army officer. From British Battles on Land and Sea, Vol. IV, by James Grant
Lieutenant Harley, at the Head of Forty Sikhs and Sixty Kashmiris, Rushed the House Over the Mouth ArtistLieutenant Harley, at the Head of Forty Sikhs and Sixty Kashmiris, Rushed the House Over the Mouth of the Mine, 1902. The Chitral Expedition (1895) by the British army to relieve the fort at Chitral
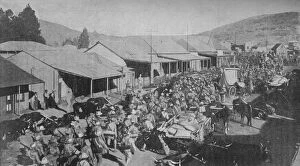
The British Army Marching Through the Streets of Pretoria, 1902. The Second Boer War (1899-1902), South Africa. From Battles of the Nineteenth Century, Vol. III
The Guards Brigade on the march to Kroonstadt, South Africa, Boer War, 1900. Artist: Underwood & UnderwoodThe Guards Brigade on the march to Kroonstadt, South Africa, Boer War, 1900. Stereoscopic card. Detail. (Colorised black and white print)
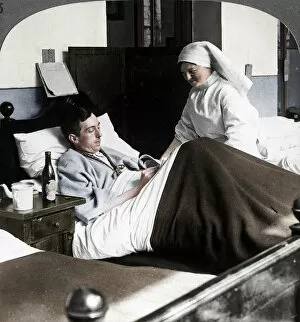
A soldier writing a letter in hospital, World War I, 1914-1918. Artist: Realistic Travels PublishersA soldier writing a letter in hospital, World War I, 1914-1918. Stereoscopic card detail. (Colorised black and white print)
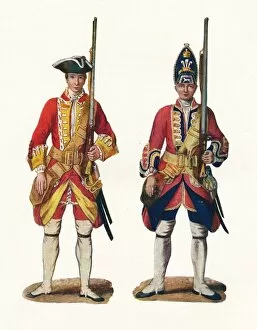
Uniforms by the British Army, 1742, 1904. From Social England, Volume V, edited by H.D. Traill, D.C.L. and J. S. Mann, M.A. [Cassell and Company, Limited, London, Paris, New York & Melbourne, 1904]
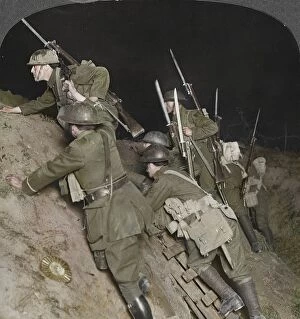
An evening in the reserve trenches at Beaumont Hamel, France, World War I, 1914-1918. Stereoscopic card detail. (Colorised black and white print)
On the front and after experience he commanded 6th Royal Scots Fusiliers, c1916, (1945). After his resignation from the government in 1915, Churchill rejoined the British Army
Thirty-Third Regiment, c1814 (1909). Artists: Robert Havell, Daniel HavellThirty-Third Regiment, c1814 (1909). After George Walker (1781-1856). From British Military Prints, by Ralph Nevill. [The Connoisseur, London, 1909]
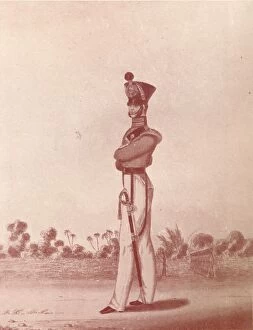
Officers of the Madras Army (Light Infantry), c1837-1843, (1909). Artist: William HunsleyOfficers of the Madras Army (Light Infantry), c1837-1843, (1909). From British Military Prints, by Ralph Nevill. [The Connoisseur, London, 1909]
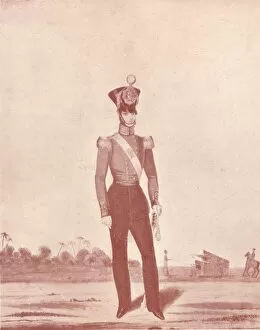
Officers of the Madras Army (Infantry on the Line), c1837-1843, (1909). Artist: William HunsleyOfficers of the Madras Army (Infantry on the Line), c1837-1843, (1909). From British Military Prints, by Ralph Nevill. [The Connoisseur, London, 1909]